To install Visual Studio Code (VSC) on your computer, select your operating system tab below for OS-specific instructions:
Windows Installation Instructions
1. Click the following link to go to the Visual Studio Code Download page: https://code.visualstudio.com/download. The page will appear like this (web pages often change, so that the appearance may be different):
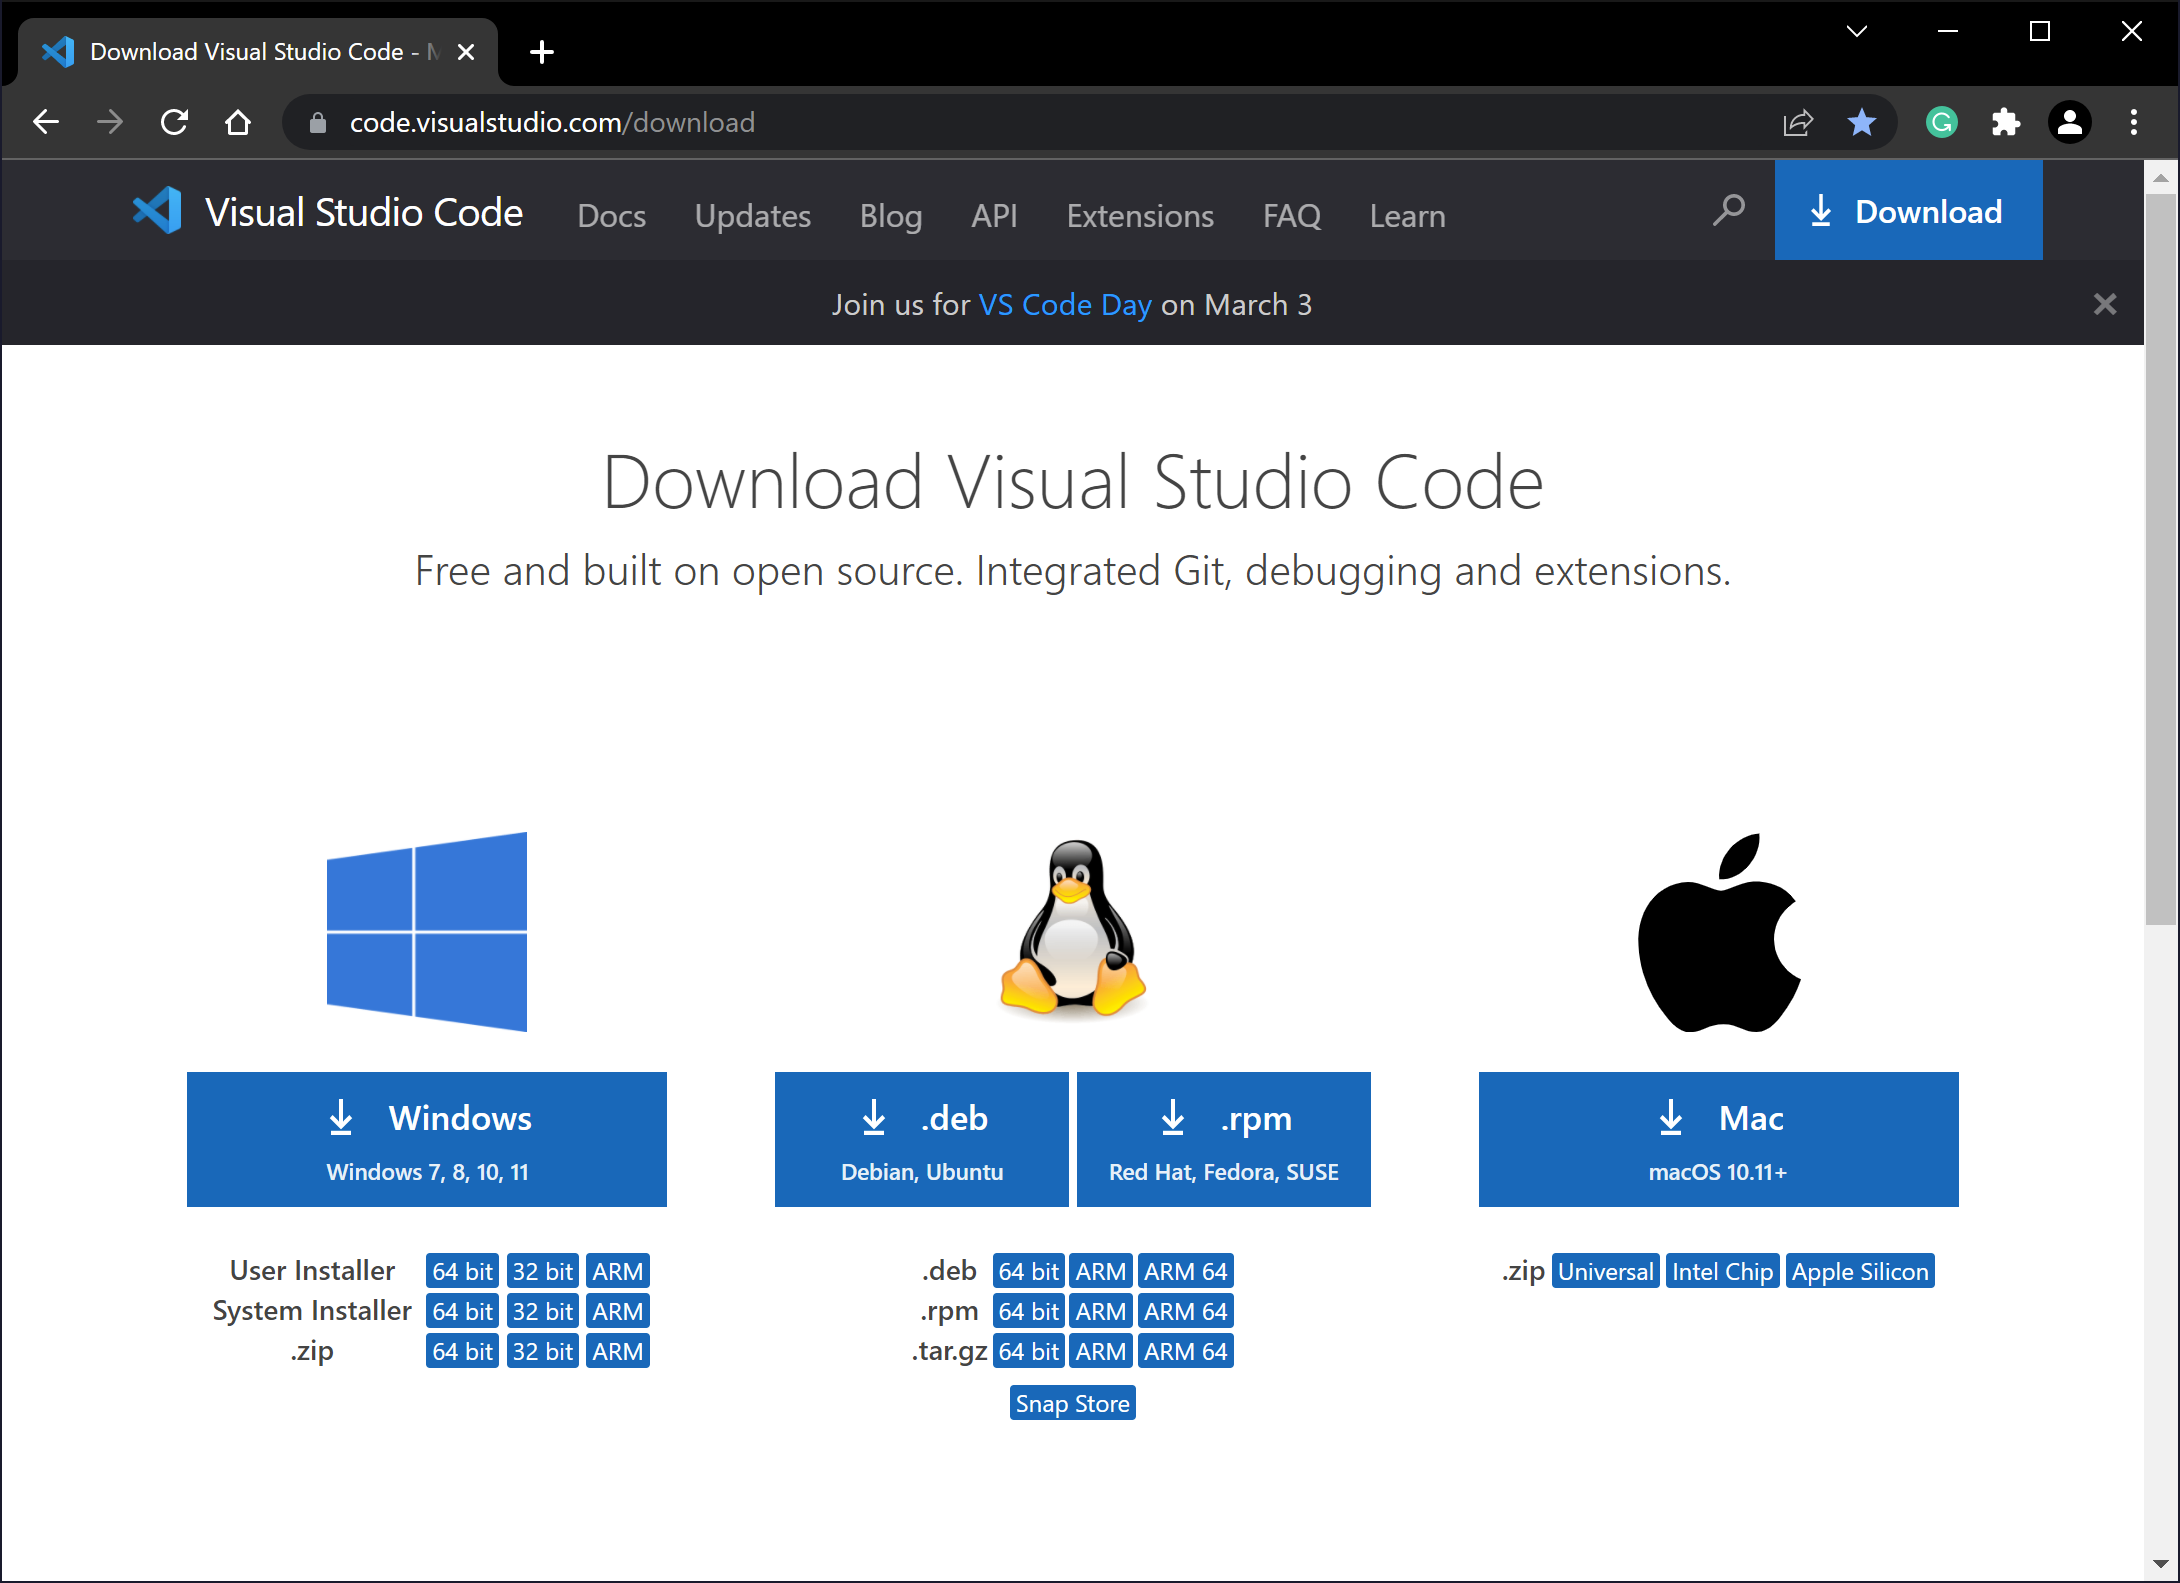
2. Click the Windows download button.

3. If you're using the Chrome browser, you should double-click the installer program that appears at the bottom left of the browser window. If you're using another browser, locate the downloaded installer file and double-click it. The Setup dialog will open. Click the I accept the agreement button and then click Next >.

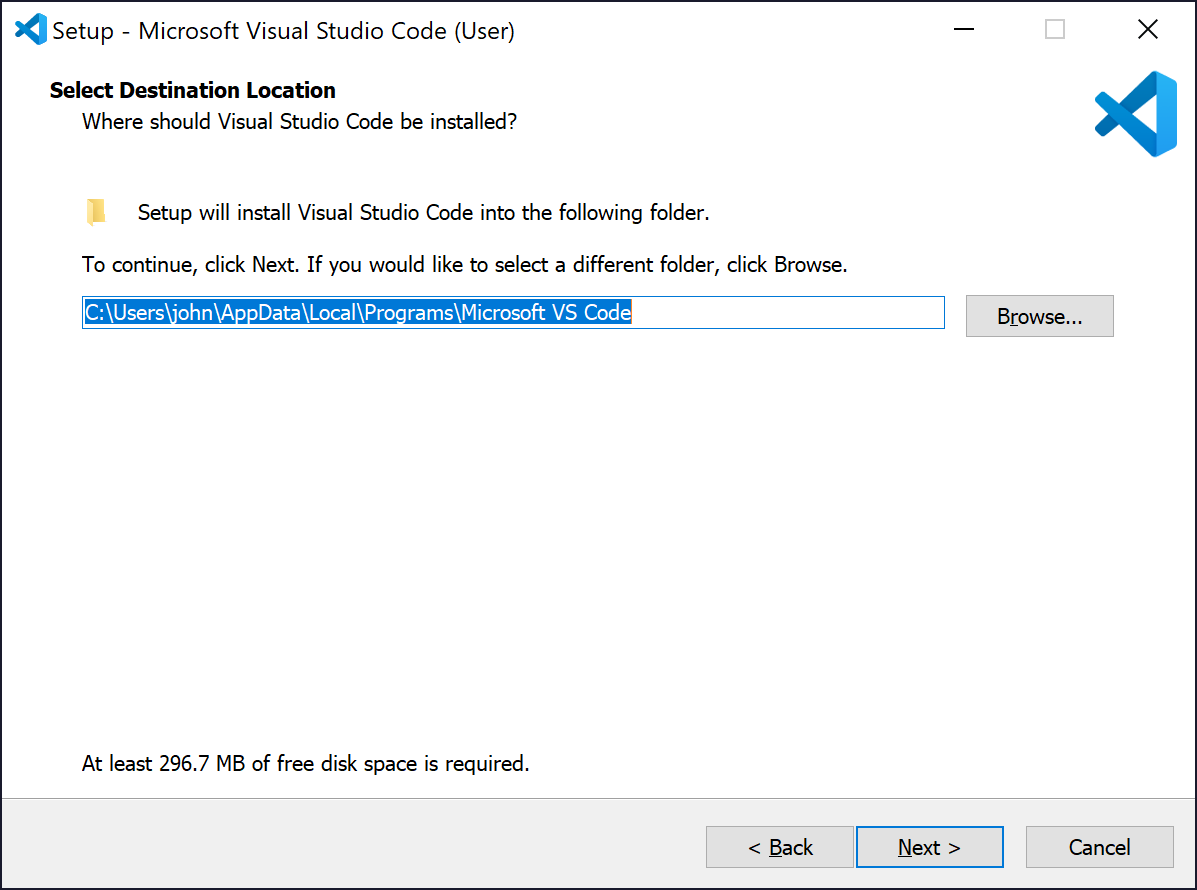
4. On the next dialog, click Next >.
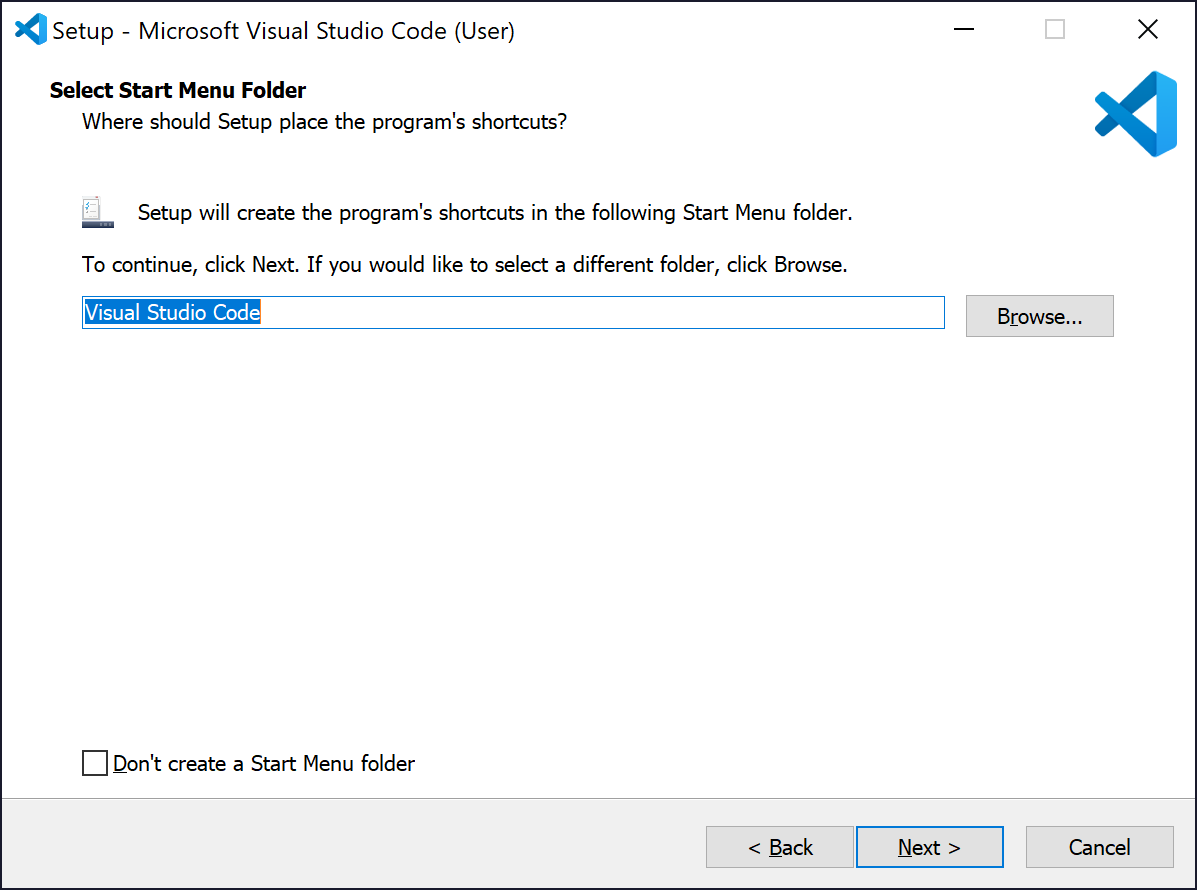
5. On the next dialog, click Next >.
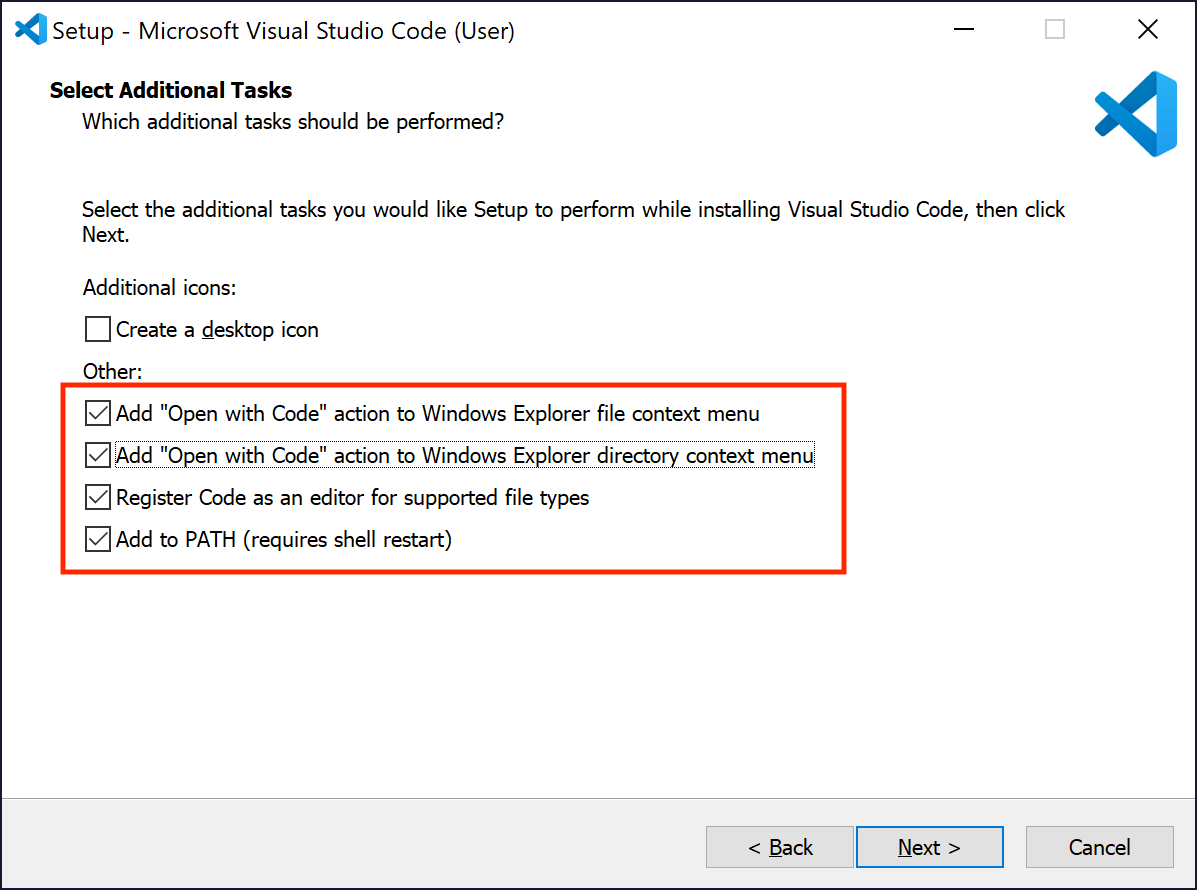
6. On the next dialog, you can choose some options. Be sure the Add to PATH checkbox is checked. The others are optional.
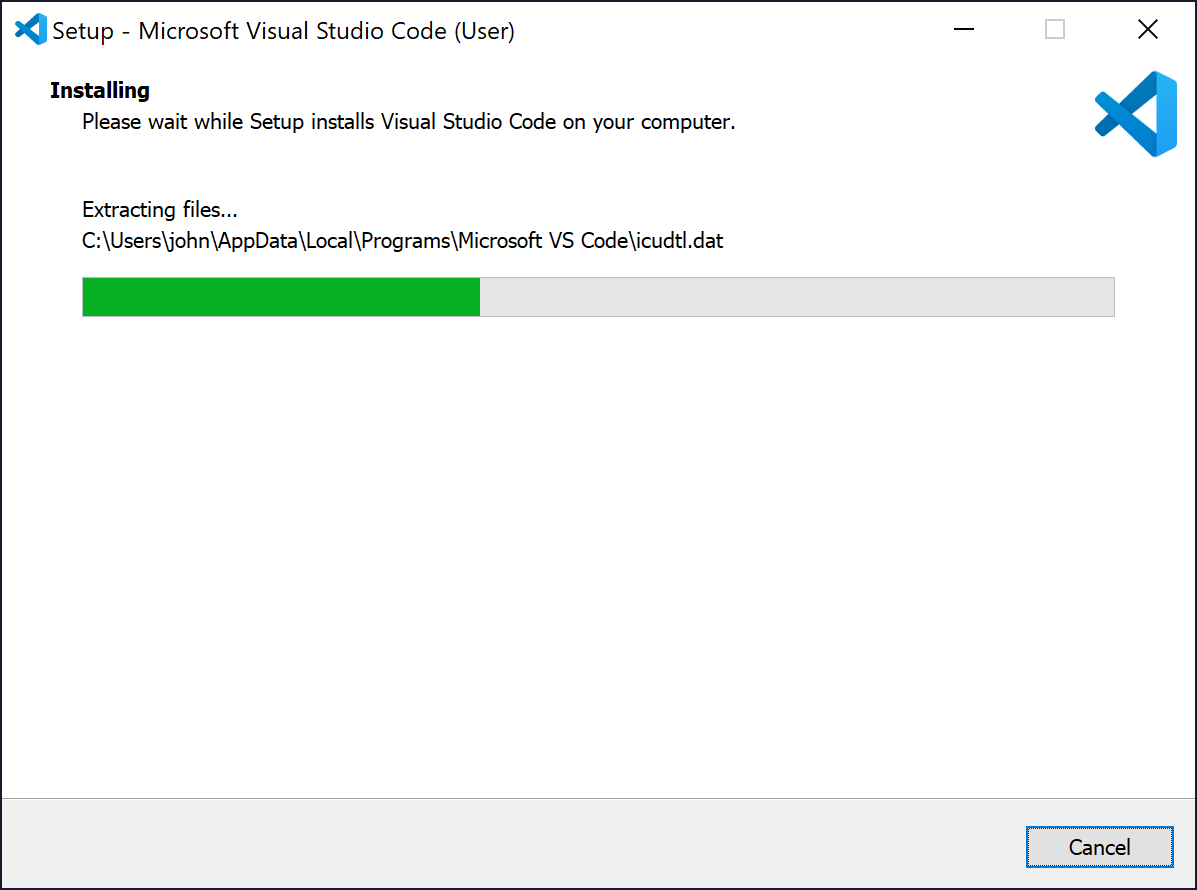
7. On the next dialog, click Install.

8. The installer will run.
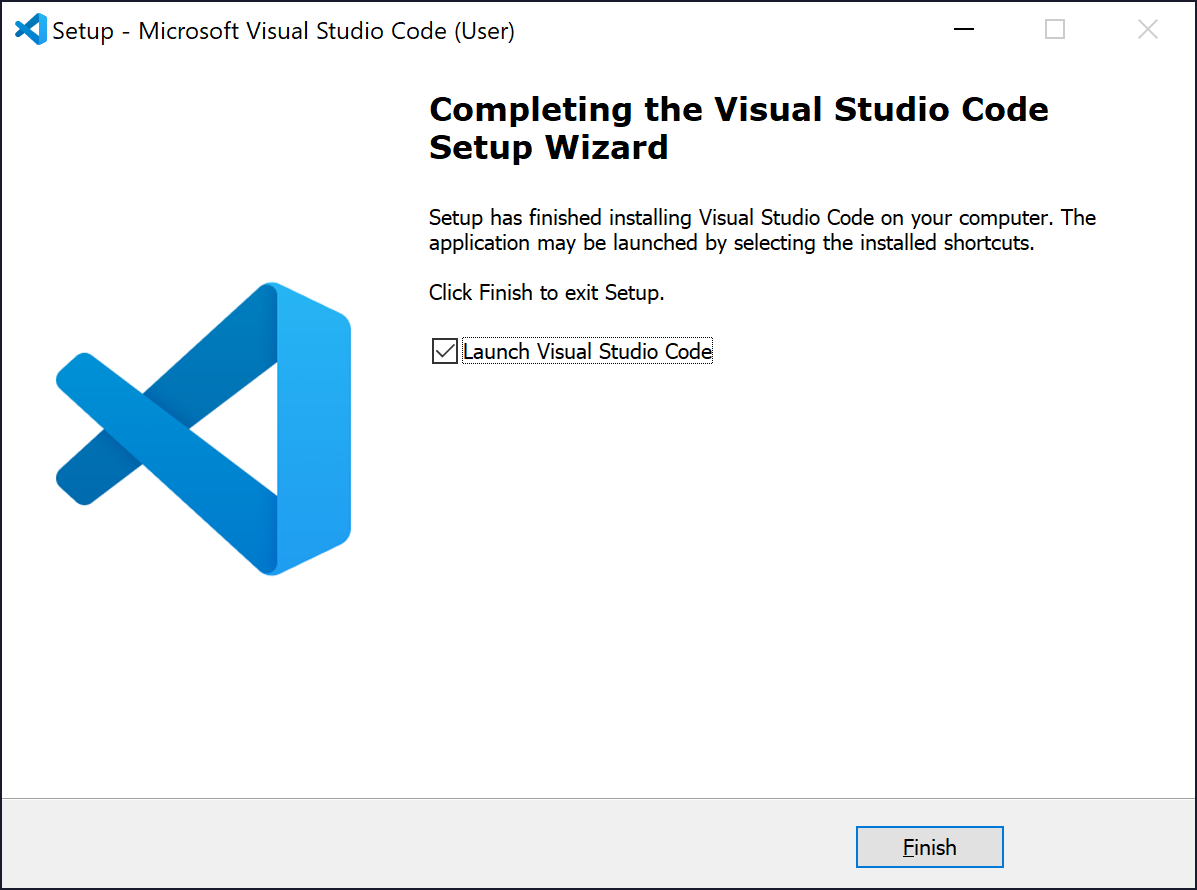
9. When the installation finishes click Finish.
Next Steps
Now that you have installed Visual Studio Code, continue with the Setup & Walkthrough section below:
Macintosh Installation Instructions
Instructions for installing VSC on a Mac are the same as those provided for Windows, other than the initial download step where you choose the Macintosh installer from the VSC download site.
Next Steps
Now that you have installed Visual Studio Code, continue with the Initial Setup section below:
Linux Installation Instructions
Instructions for installing VSC on a Linux are the same as those provided for Windows, other than the initial download step where you choose the Linux installer from the VSC download site.
Next Steps
Now that you have installed Visual Studio Code, continue setting it up for the type of development work you intend on using it for through its large number of Extensions and integrations.
 University of Utah