Installing MySQL Server and Workbench on Microsoft Windows Computers
Installation Steps
This set of instructions will guide you through the installation of MySQL Server on a Microsoft Windows computer. The instructions include many screen shots to help you through the process. The installation process is fairly straightforward, but there are numerous steps that are important to get right, so please follow the instructions carefully.
Here are the major parts to this process:
- Download the MySQL Installer
- Install MySQL Server and MySQL Workbench
- Restart your computerr
- Configure MySQL
Part 1: Download the MySQL Installer
First, in a web browser navigate to this address: https://dev.mysql.com/downloads The following screen will appear:

Click the link labeled MySQL Installer for Windows. The following screen will appear:

Click the Download button for the larger (~350M) Windows Installer MSI file. Then the following screen will appear:
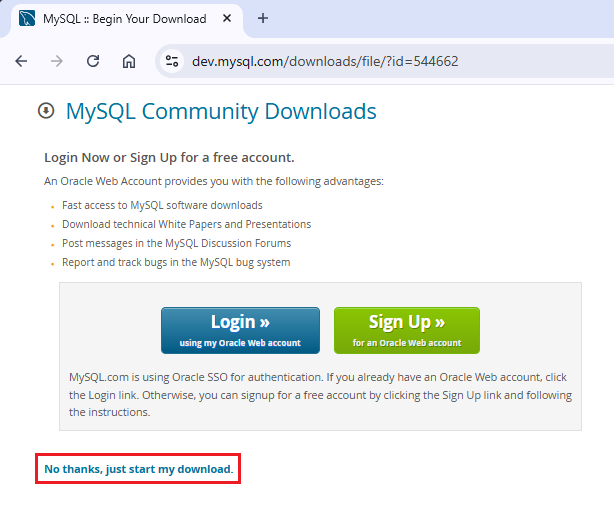
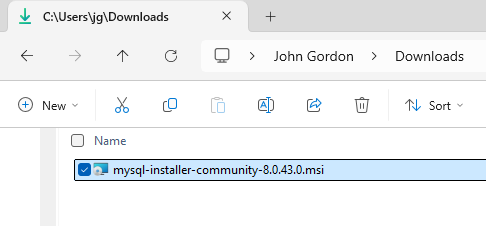
You are not required to create an account in order to download MySQL Installer. Just click the No thanks, just start my download link to proceed without signing in. The installer file will download and appear in your Downloads folder when the download finishes like this:
Part 2: Install MySQL Server and MySQL Workbench
Next, double-click the downloaded file to launch the MySQL Installer. The following screen will appear:
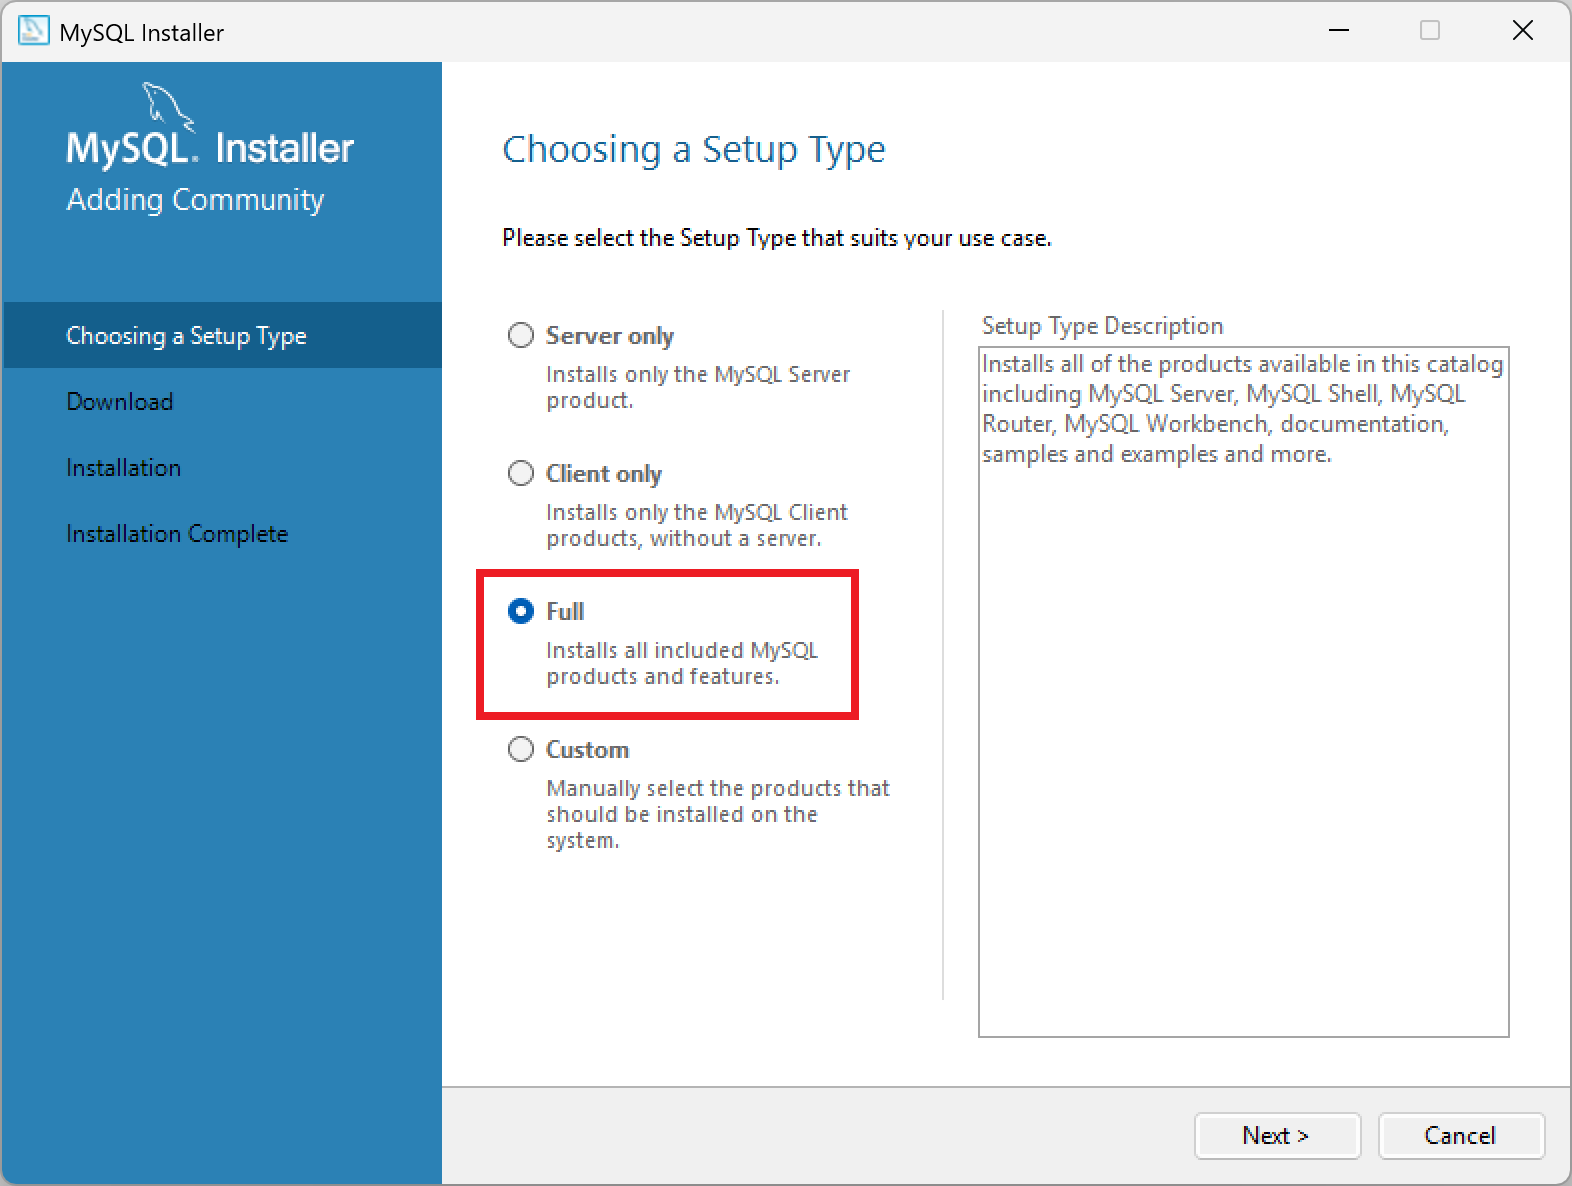
Click the Full option and then click the Next button. The following screen will appear:
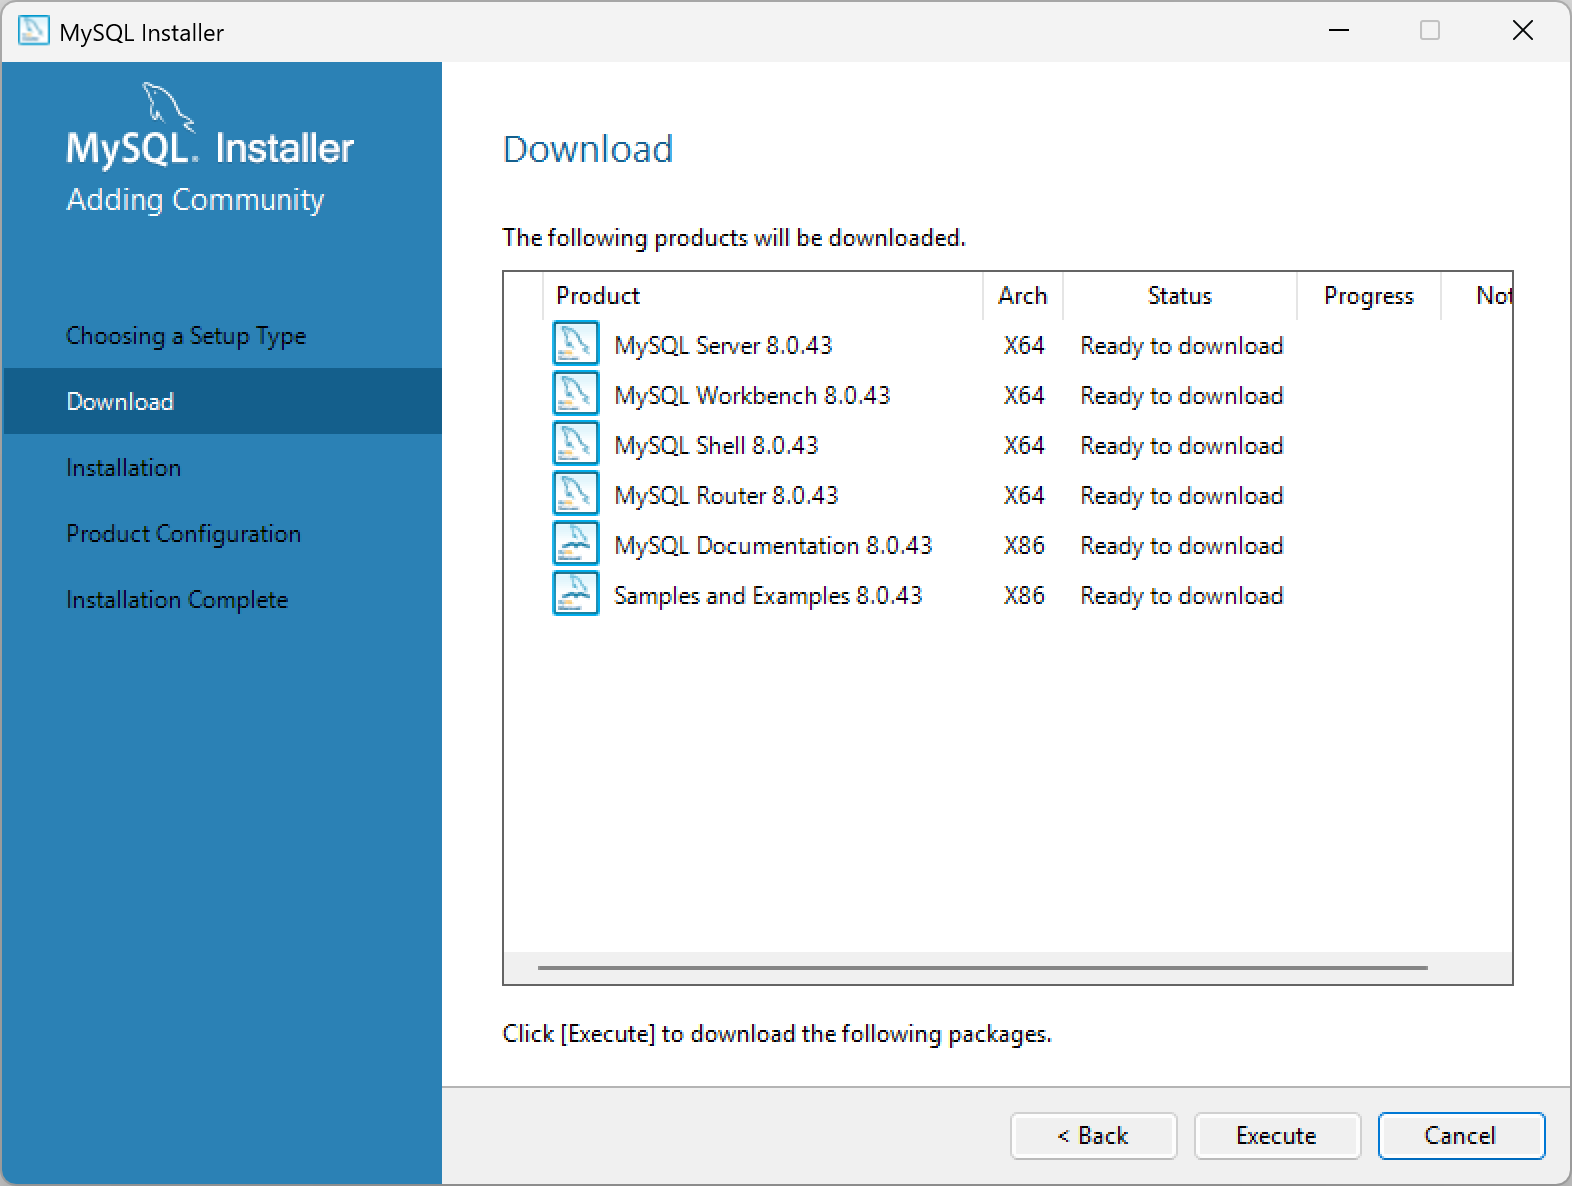
Click the Execute button to begin the download process. You will see progress percentages for each of the components being downloaded, similar to this:
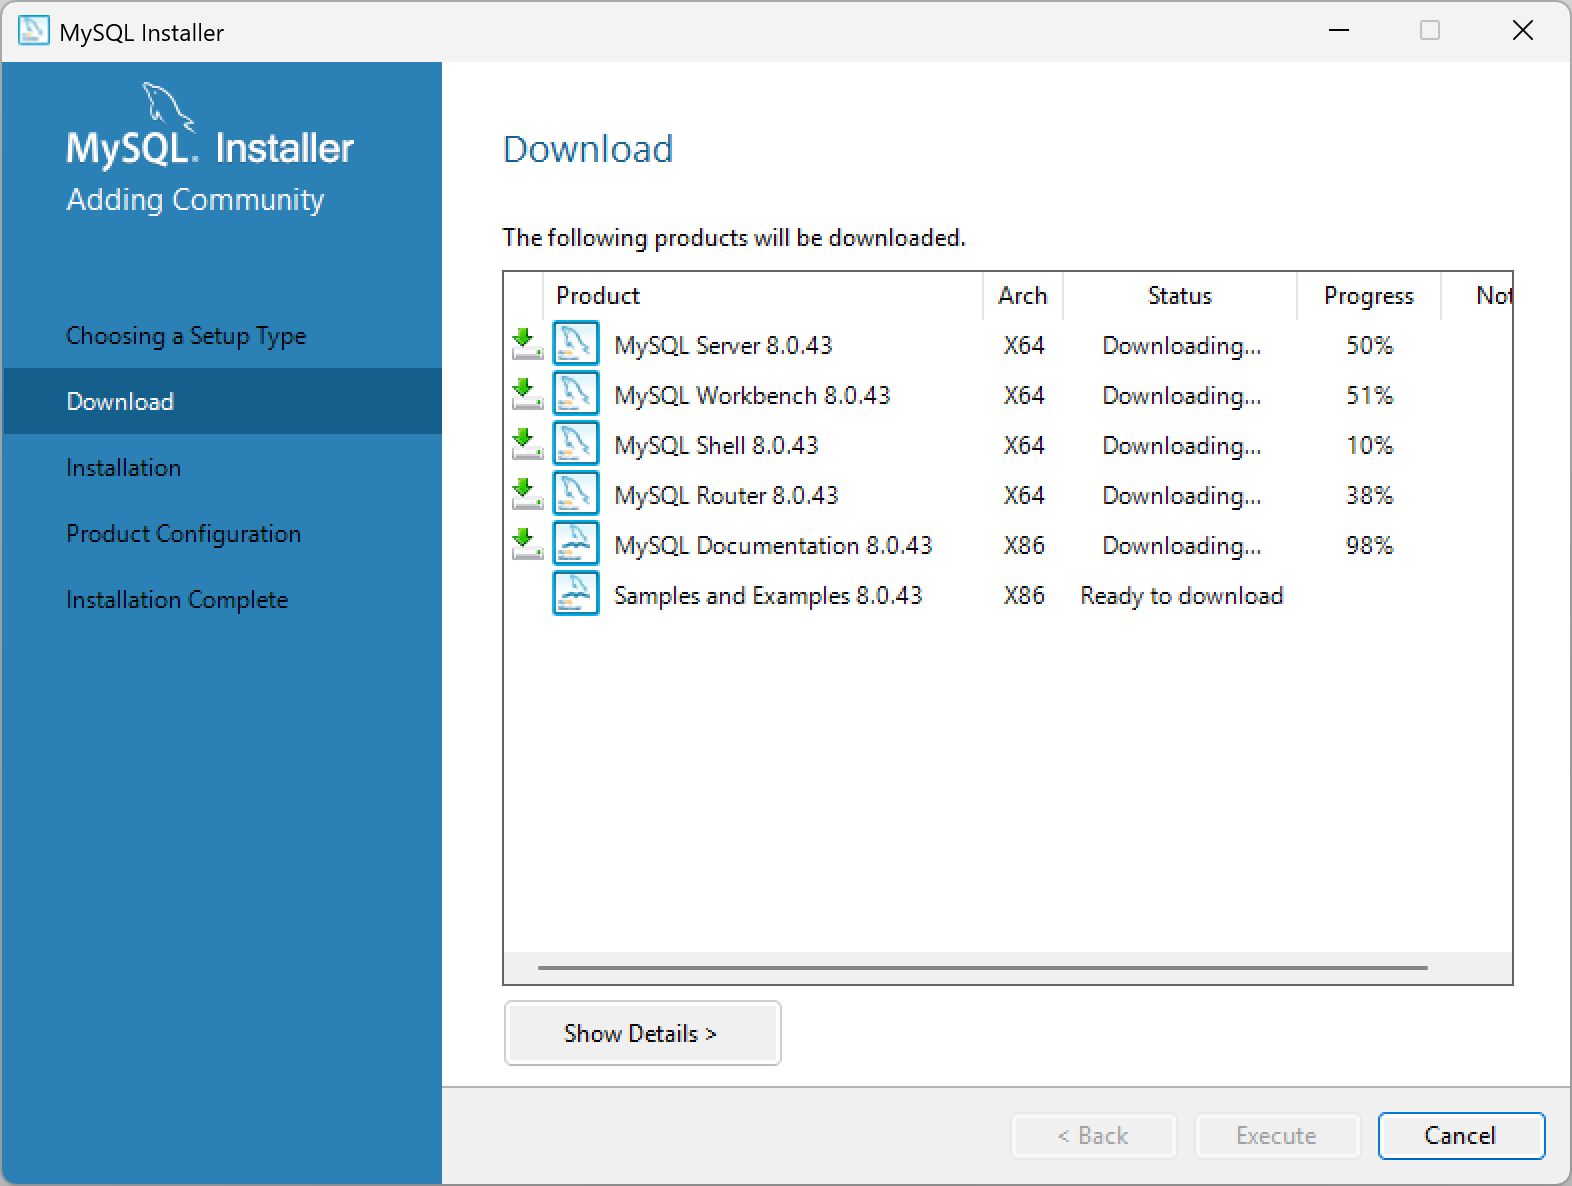
When the downloads completes, click Next and the following screen will appear:

Click the Execute button to begin the installation process. You will see progress percentages for each of the components being installed, similar to this:

When the installation completes, click Next and the following screen will appear:

Click the Next button to proceed to the configuration steps. The following screen will appear:
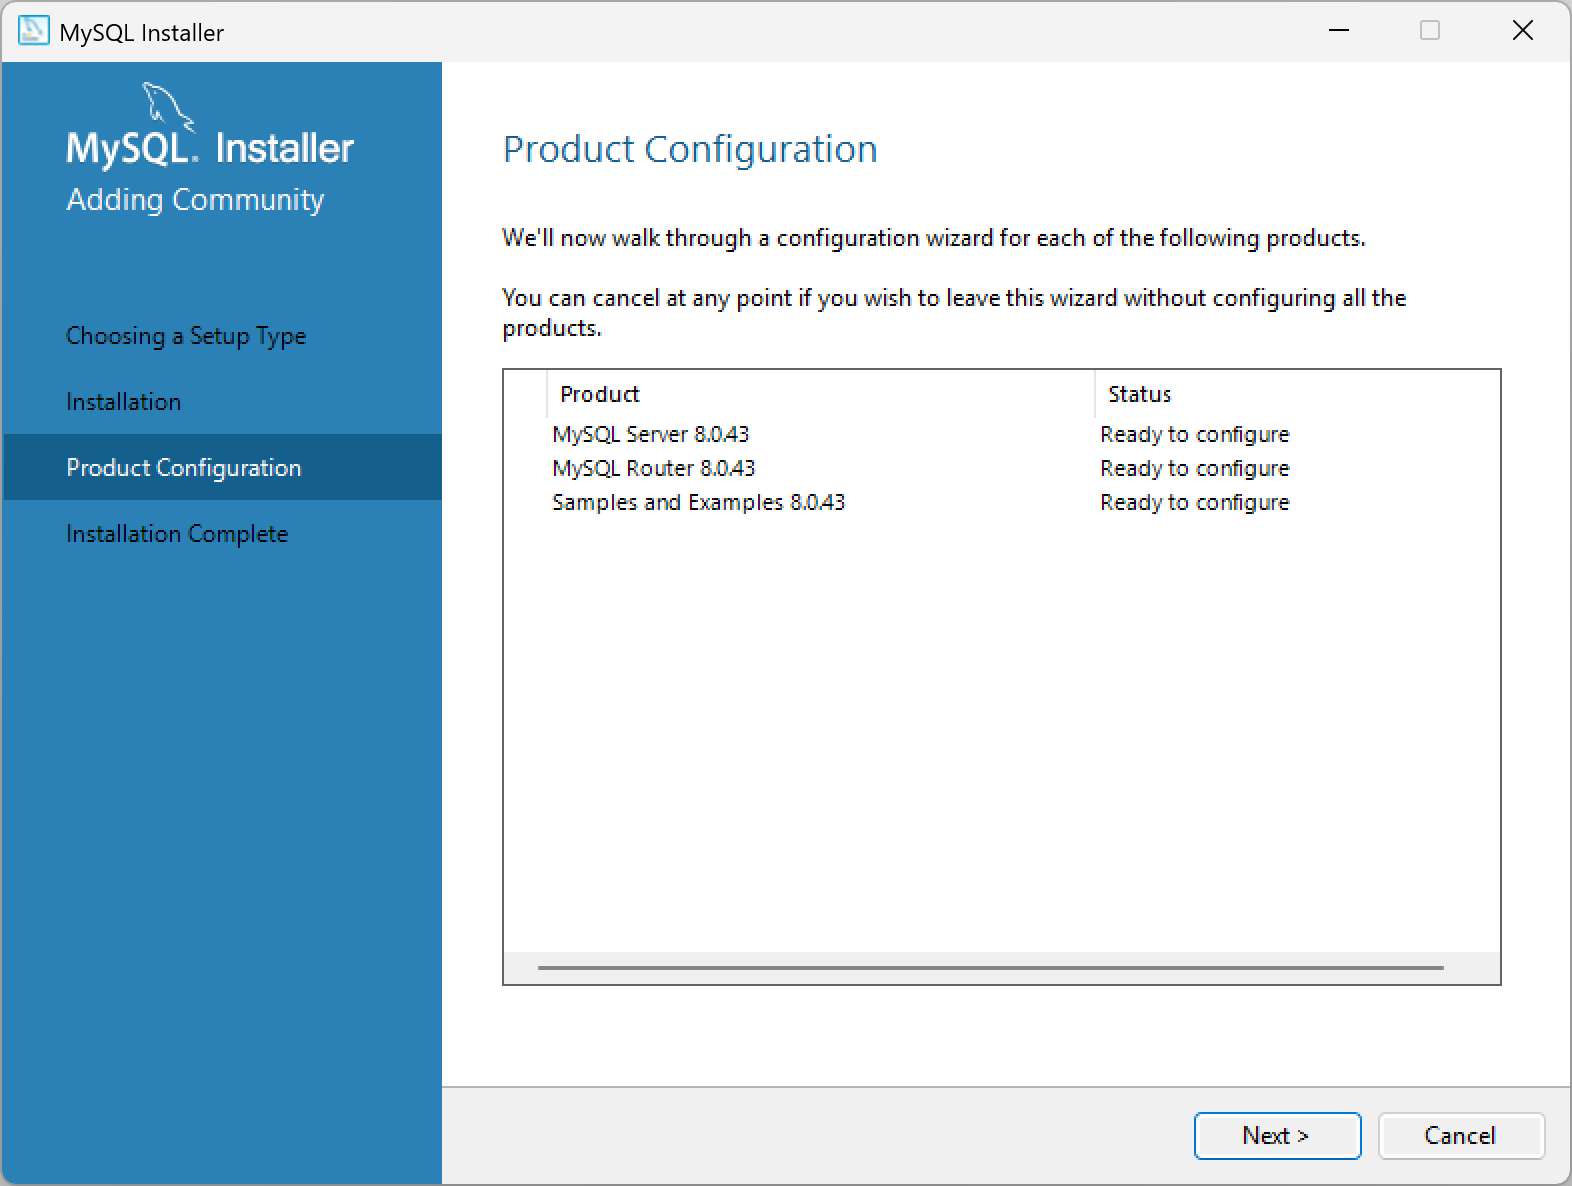
Click the Next button to proceed. The following screen will appear:

Note that the default configuration is as a Development Computer, this is what we want, so leave all of the settings on this screen as the defaults. Click the Next button to continue.
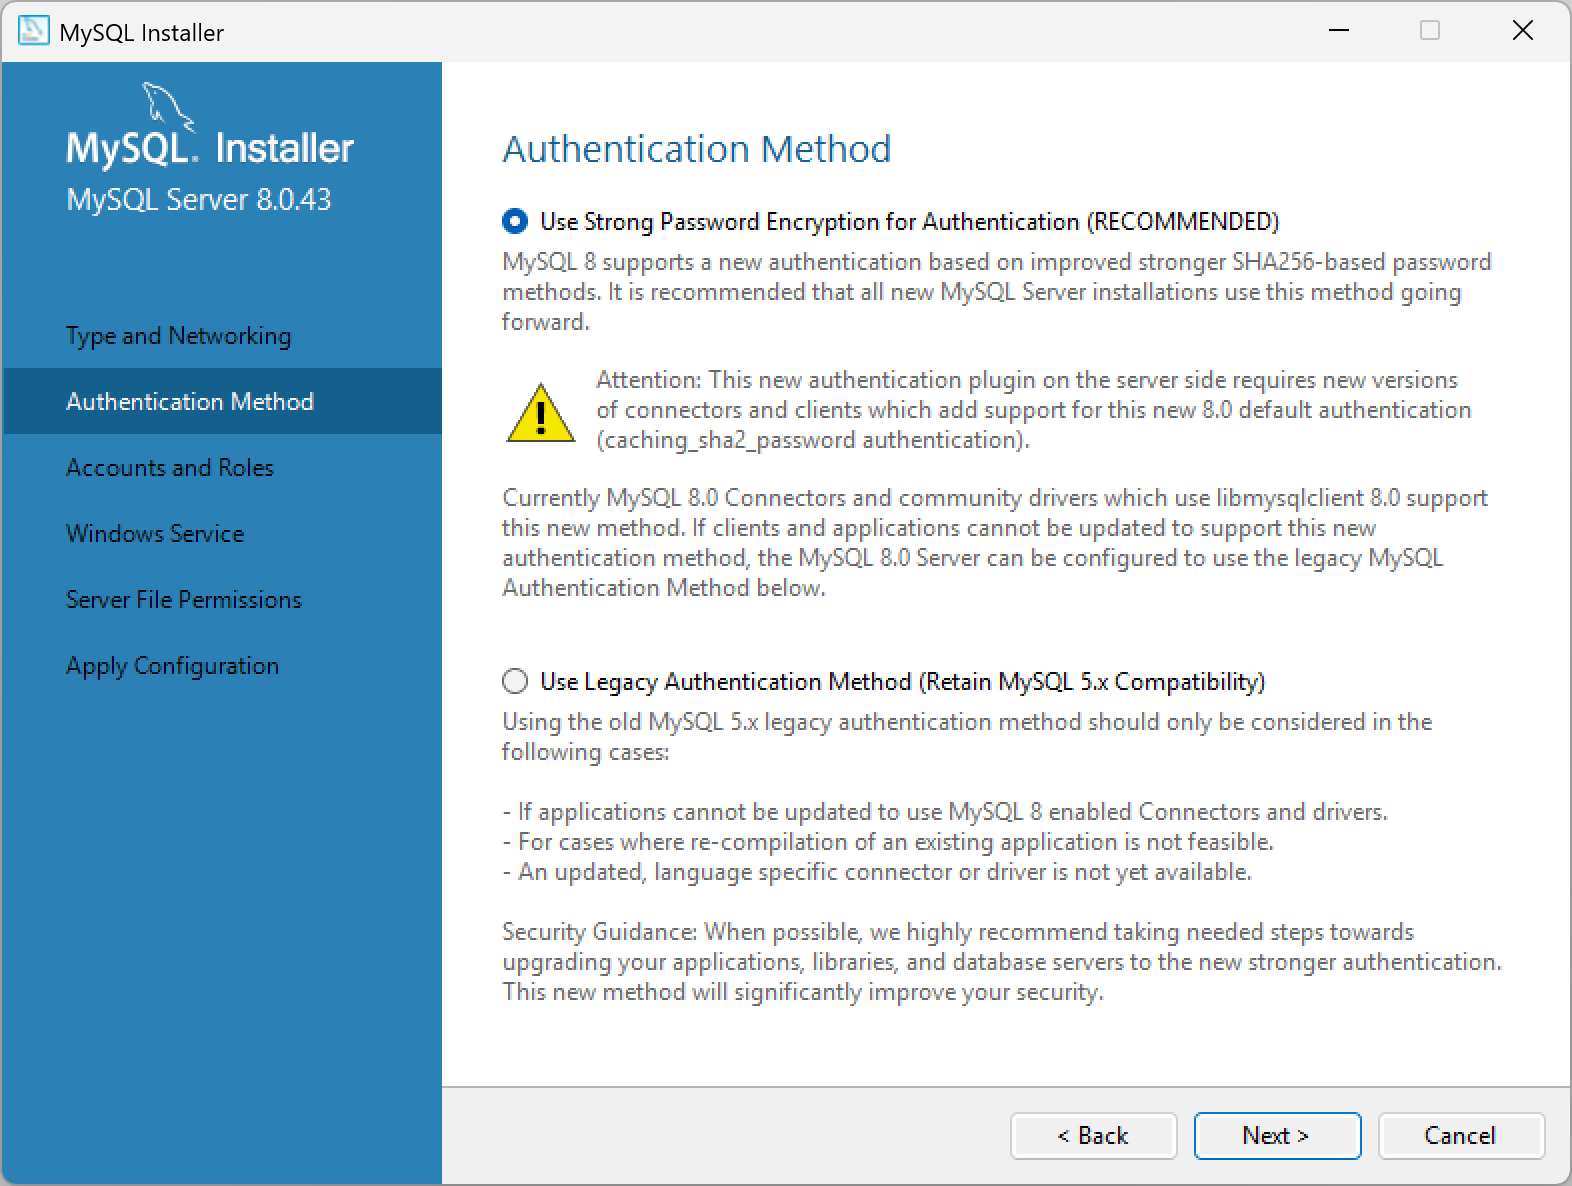
On the Authentication Method screen, leave the default option of Use Strong Password Encryption for Authentication (RECOMMENDED) selected and click the Next button to continue.
Note: The next step, setting the root password, is very important. Be sure to choose a strong password that you will remember. You will need this password later to log into the MySQL server. Don't forget this password! It is not easy to recover it later.
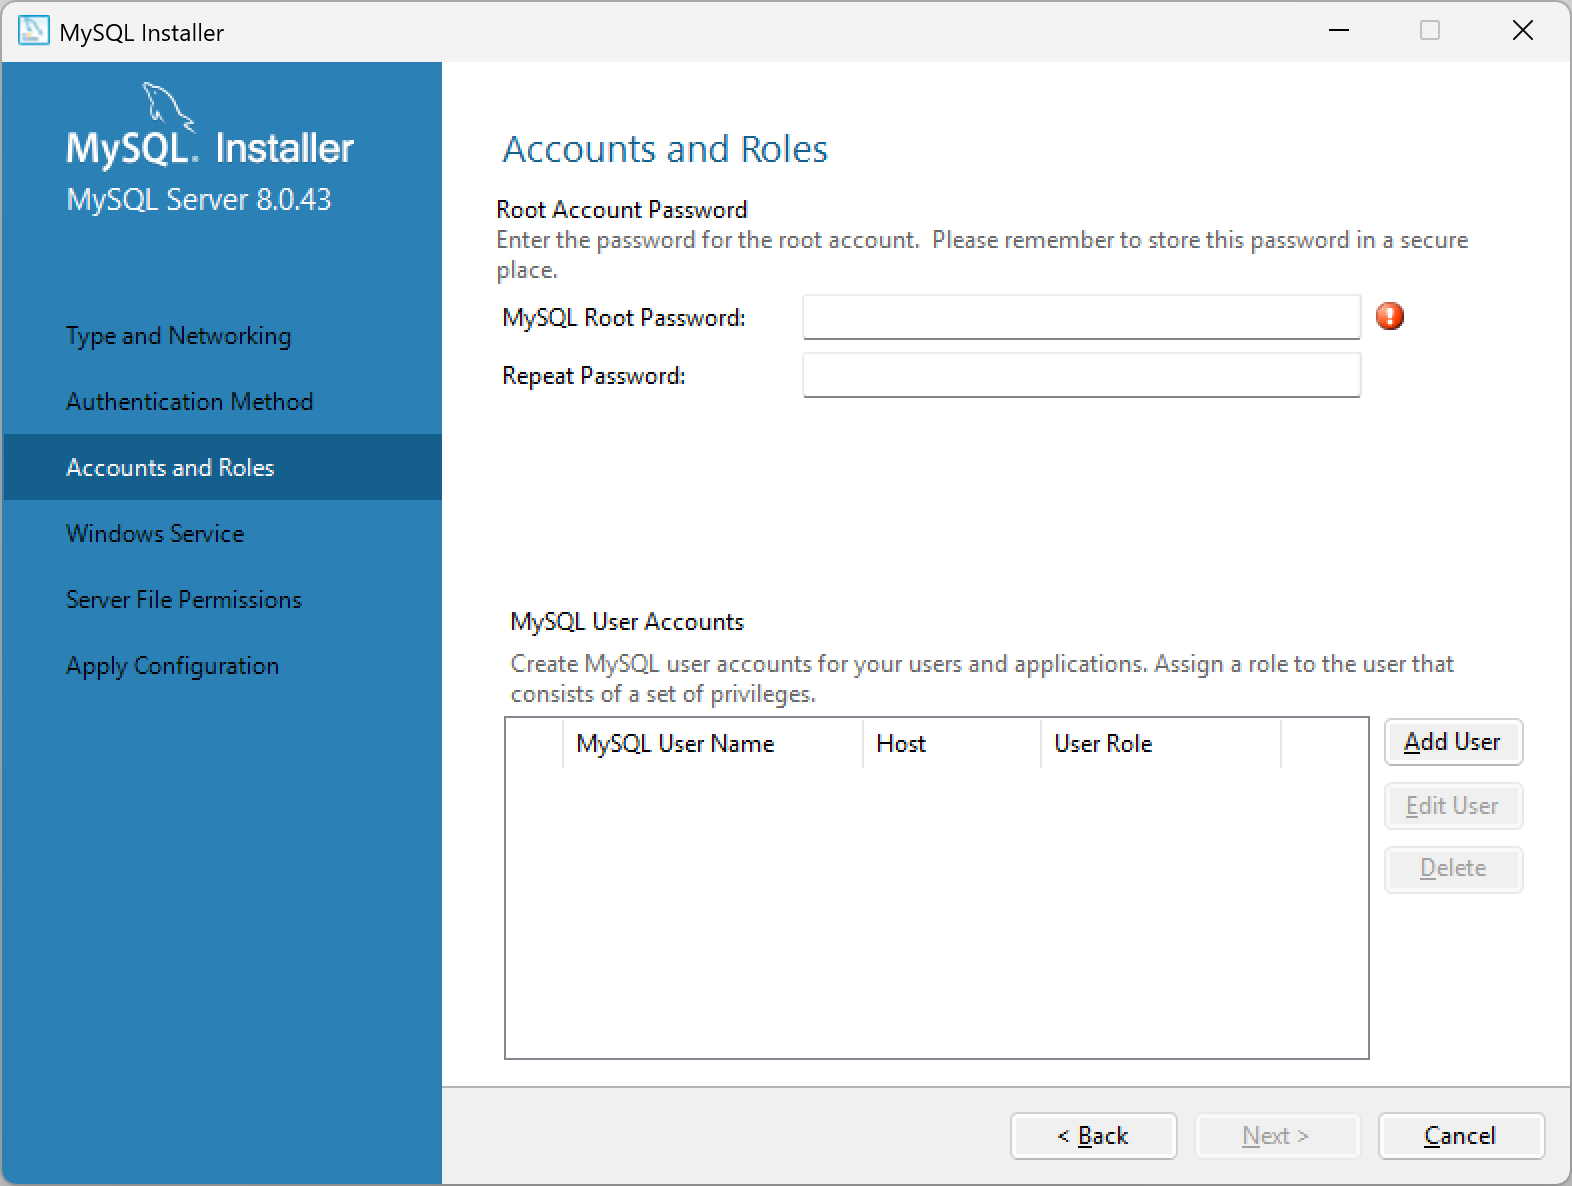
Enter a root password, and repeat the password in the next field to confirm the spelling and case of your password. After you have set a root password, click the Next button to continue.

On this Windows Service screen, leave the default options as they are and click the Next button to continue.
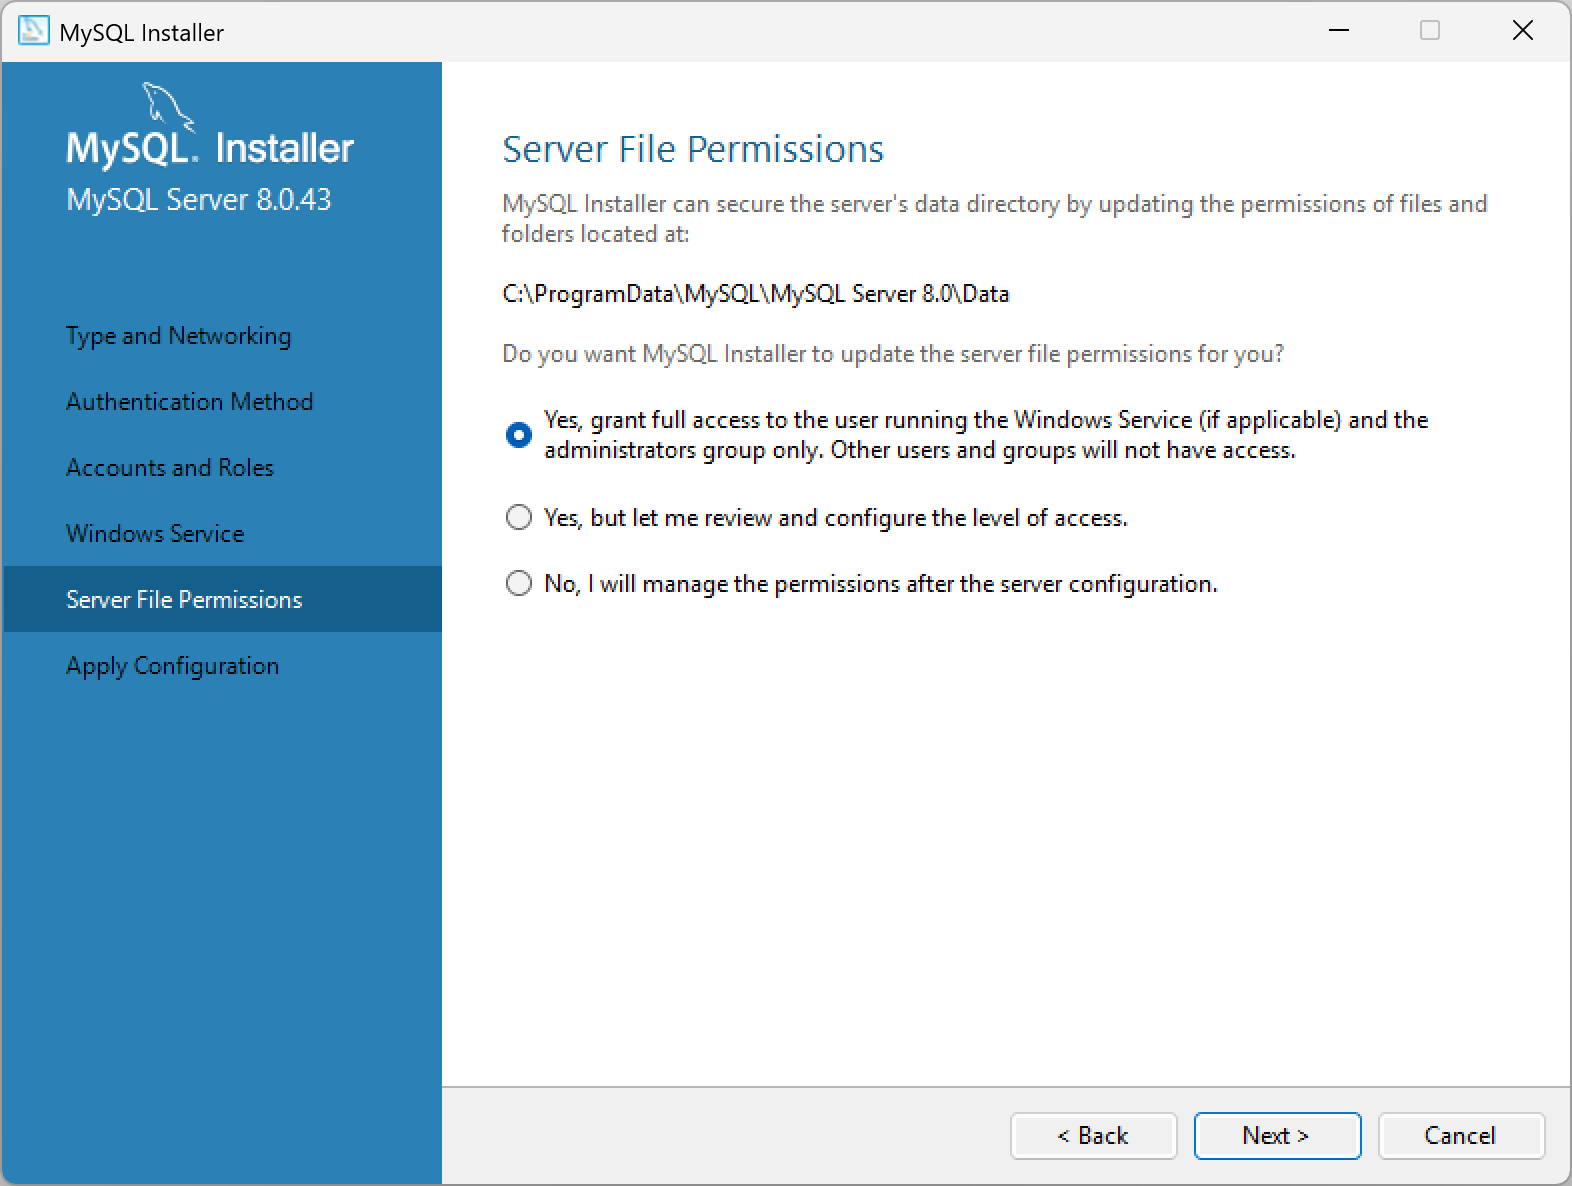
On this Server File Permissions screen, leave the default options as they are and click the Next button to continue.
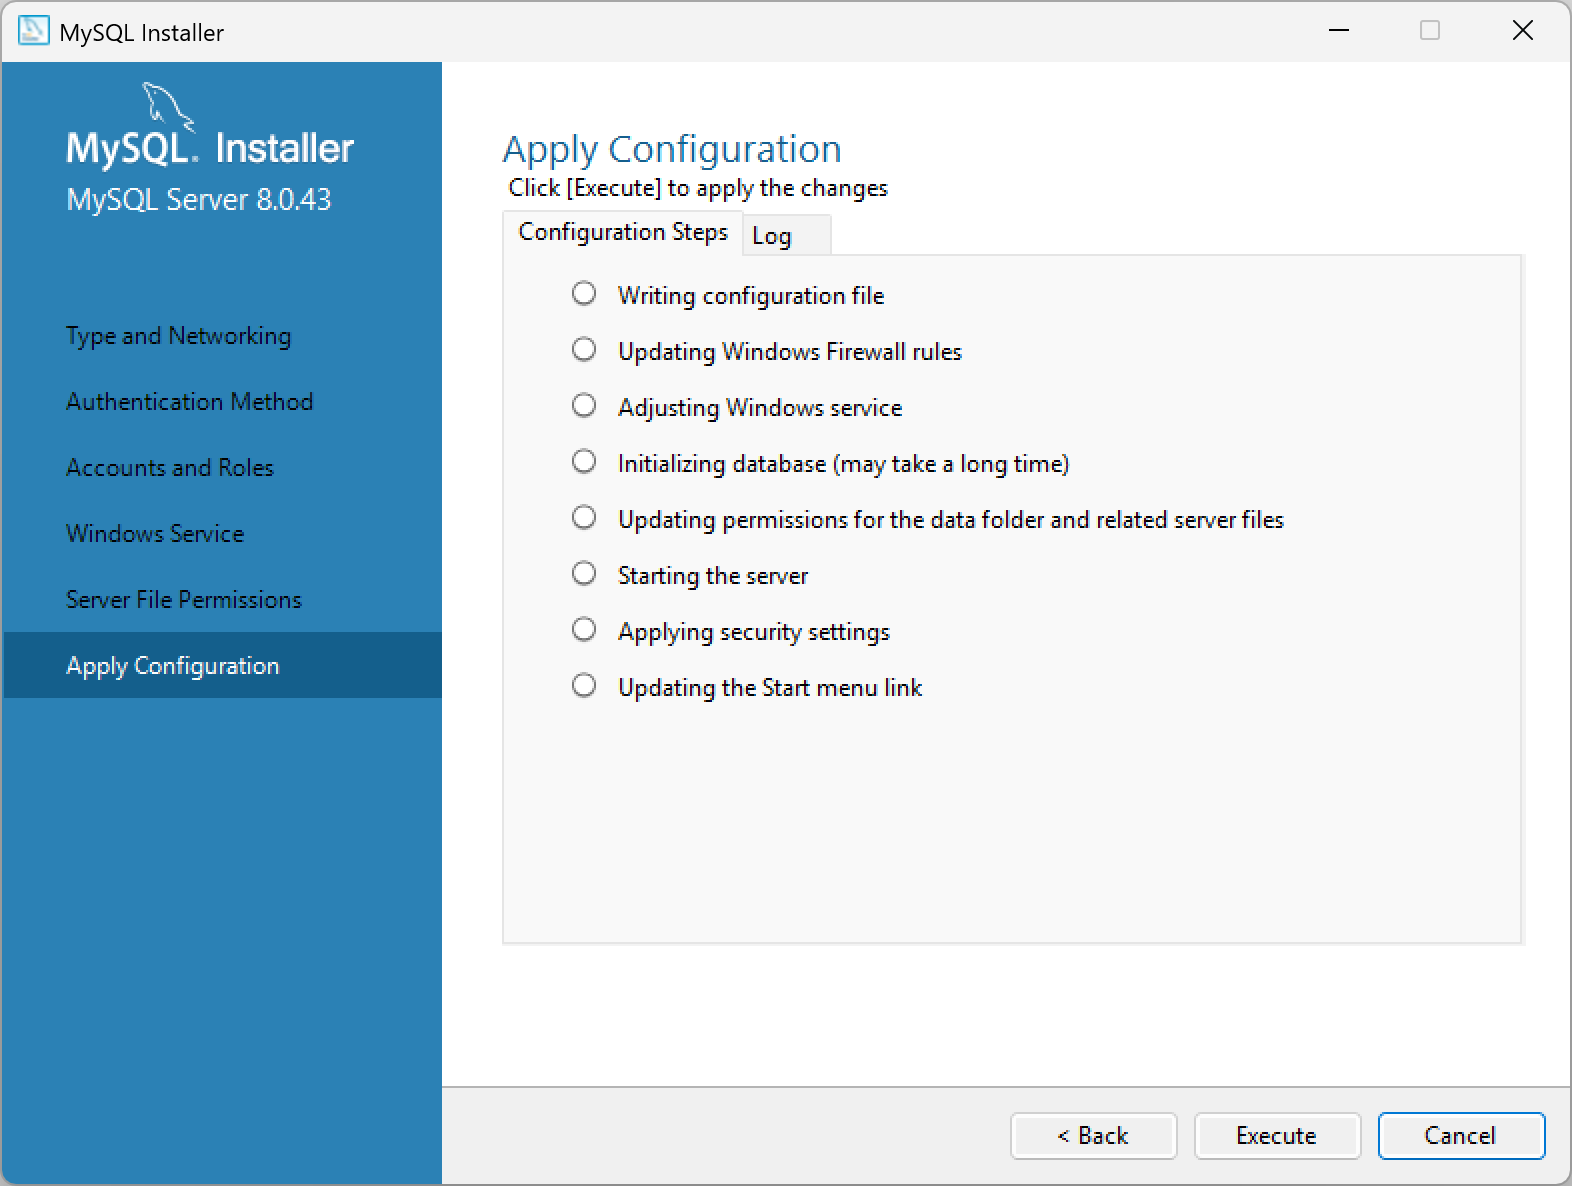
Now click the Execute button to apply the changes. You will see progress percentages for each of the configuration steps being applied, similar to this:

When the configuration steps are complete, you will see a screen indicating that the installation was successful. Click the Finish button to exit the installer.
The Product Configuration window will appear again. For our purposes, we do not need to configure any of the other products that were installed, so just click the Cancel button again to exit the installer. You will see a message asking "Are you sure you want to cancel adding products?" Click the Yes button to exit the installer.
Part 3: Restart your computer
Restart your computerr to ensure that all changes take effect properly.
Part 4: Configure MySQL
Next, we will configure MySQL Server through the MySQL Workbench software. Start MySQL Workbench by clicking in the Search box on the Windows toolbar (usually bottom of the screen) and entering the word workbench in the search box. You should see MySQL Workbench in the search results. Click on it to open the application. The following screen will appear:

To open the local instance of your MySQL Server, click on the Local instance MySQL80 box below the MySQL Connections label.
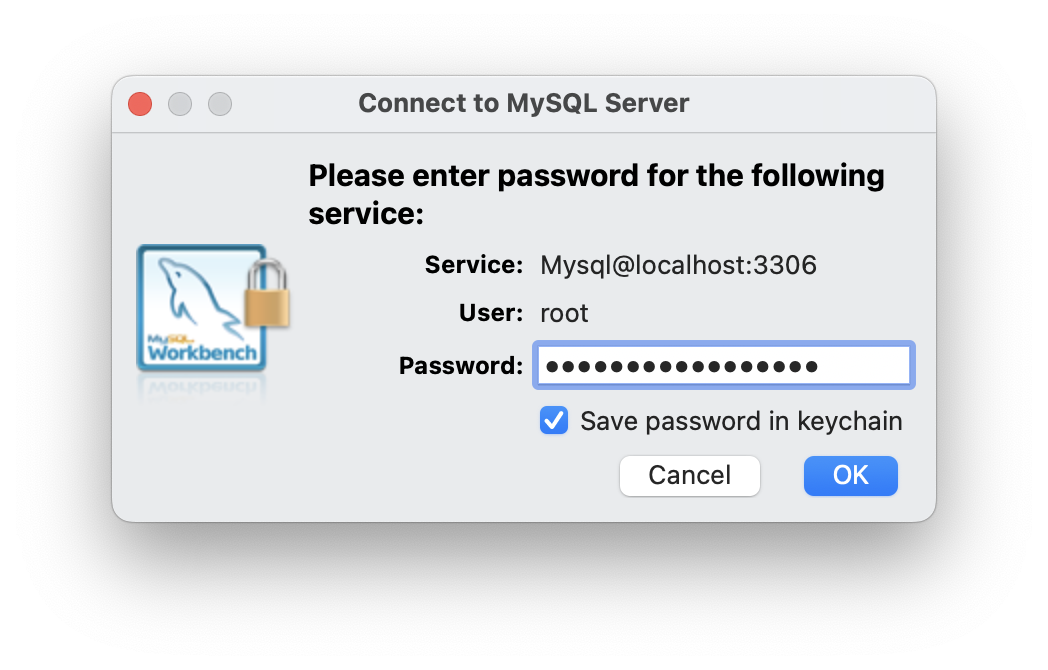
The password dialog will open:

Note that the User: is root.
Enter the password that you created for root during the installation process.
And check the Save password in vault checkbox.
Then click the OK button.

The MySQL Workbench application will open, and you will see a screen similar to this:
Next, click on the right-panel close button (at the top-right corner of the Workbench window) shown here:
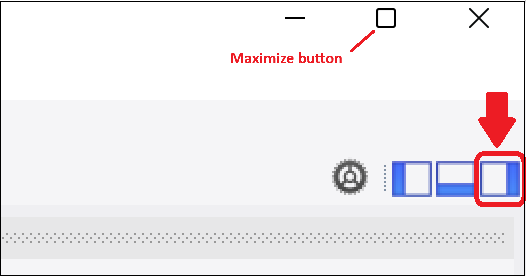
Next, maximize the MySQL Workbench window by clicking the maximize button (the square icon) in the top-right corner of the window.
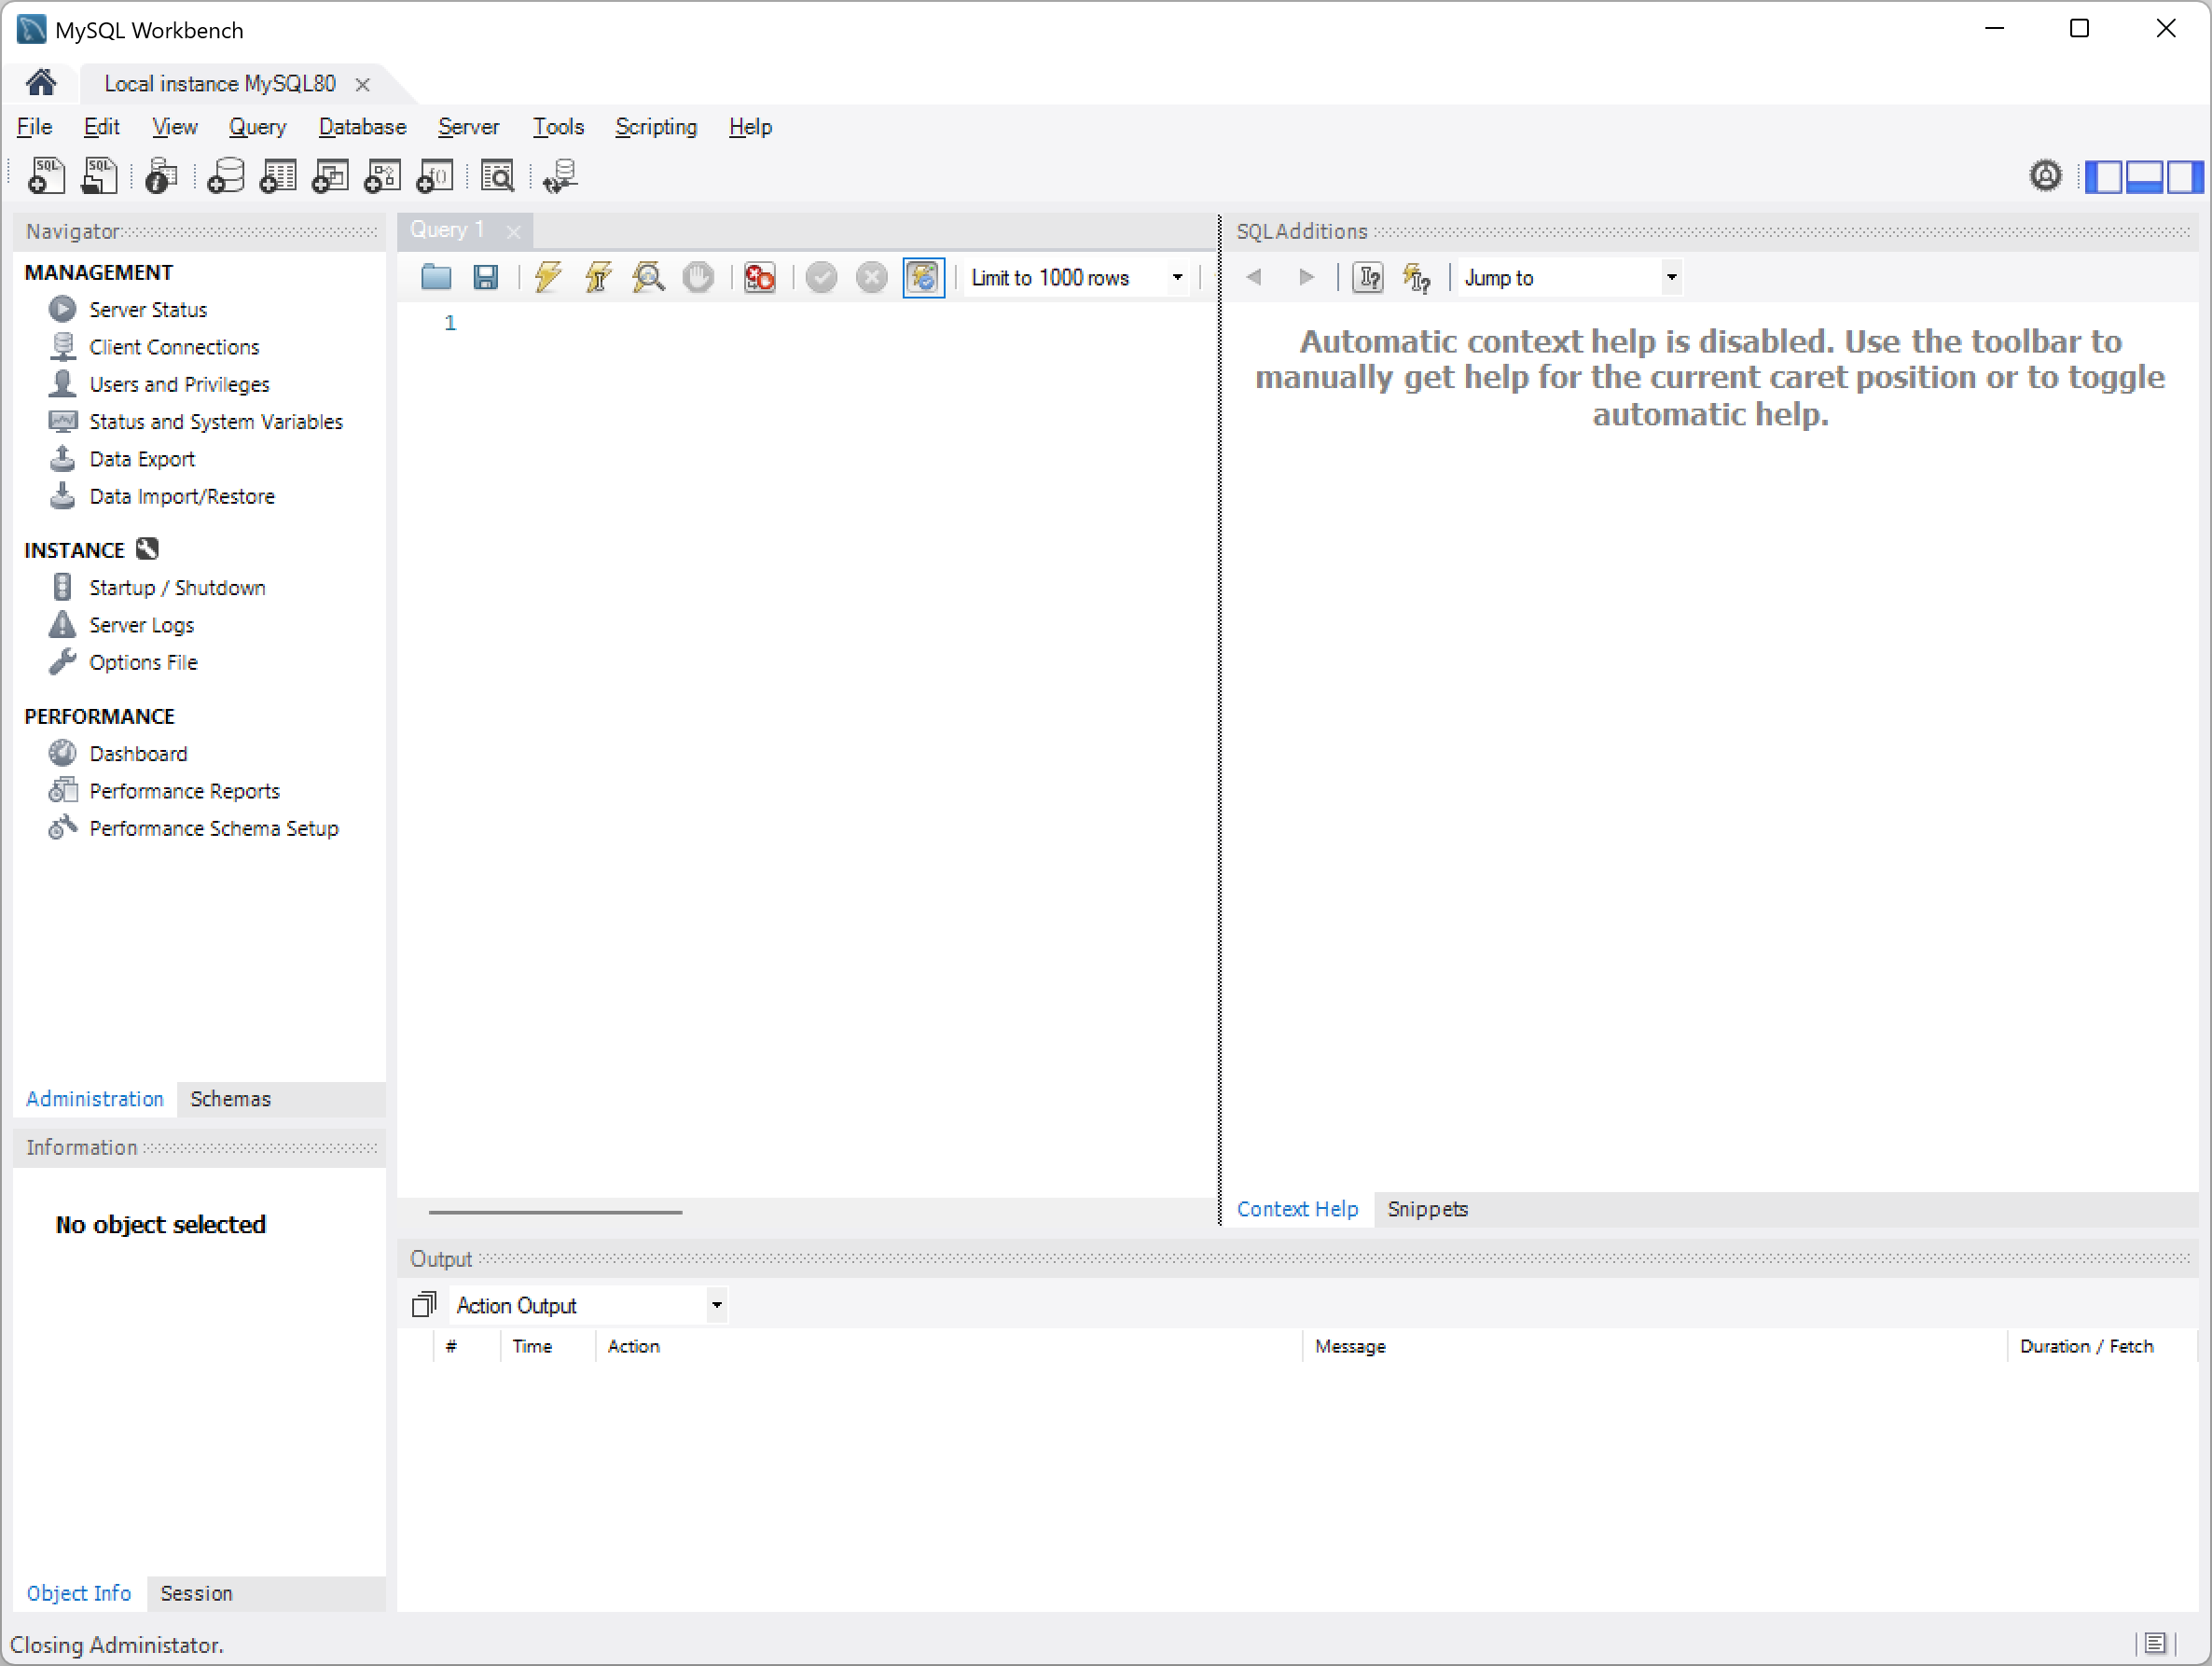
And then click on the Server Status left-side menu option to display your server information. Your screen should look similar to this:

If you see your server status that means MySQL Server is running properly.
Installing MySQL on Apple Macintosh Computers
Installation Steps
This set of instructions will guide you through the installation of MySQL Server on an Apple Macintosh computer. The instructions include many screen shots to help you through the process. The installation process is fairly straightforward, but there are numerous steps that are important to get right, so please follow the instructions carefully.
Here are the major parts to this process:
- Download MySQL Community Server
- Install MySQL Community Server
- Restart your computerr
- Download MySQL Workbench
- Install MySQL Workbench
- Confirm Your MySQL Installation
Part 1: Download MySQL Community Server
First, check your computer to see if you are running an Intel-based or Apple Silicon-based Mac. To do this, open System Setting and click the General tab. The following screen will appear:
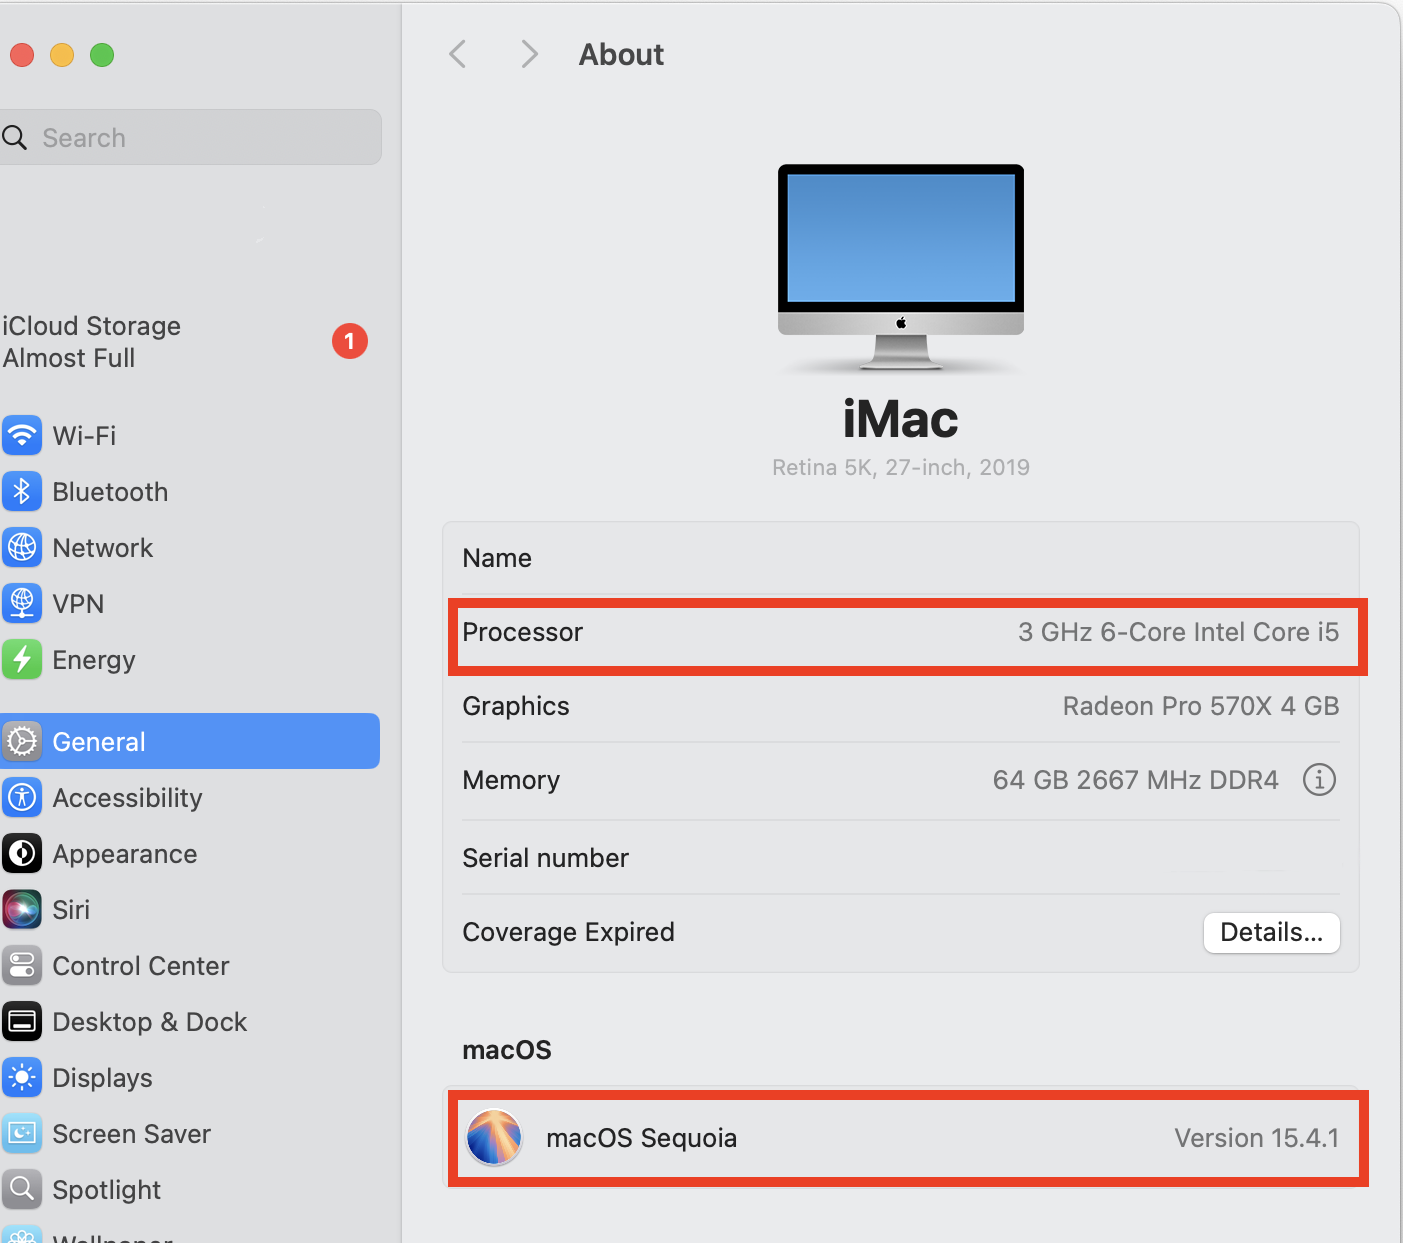
Make note of the Processor type and macOS version, as you will need this information later in the installation process.
Next, in a web browser navigate to this address: https://dev.mysql.com/downloads The following screen will appear:
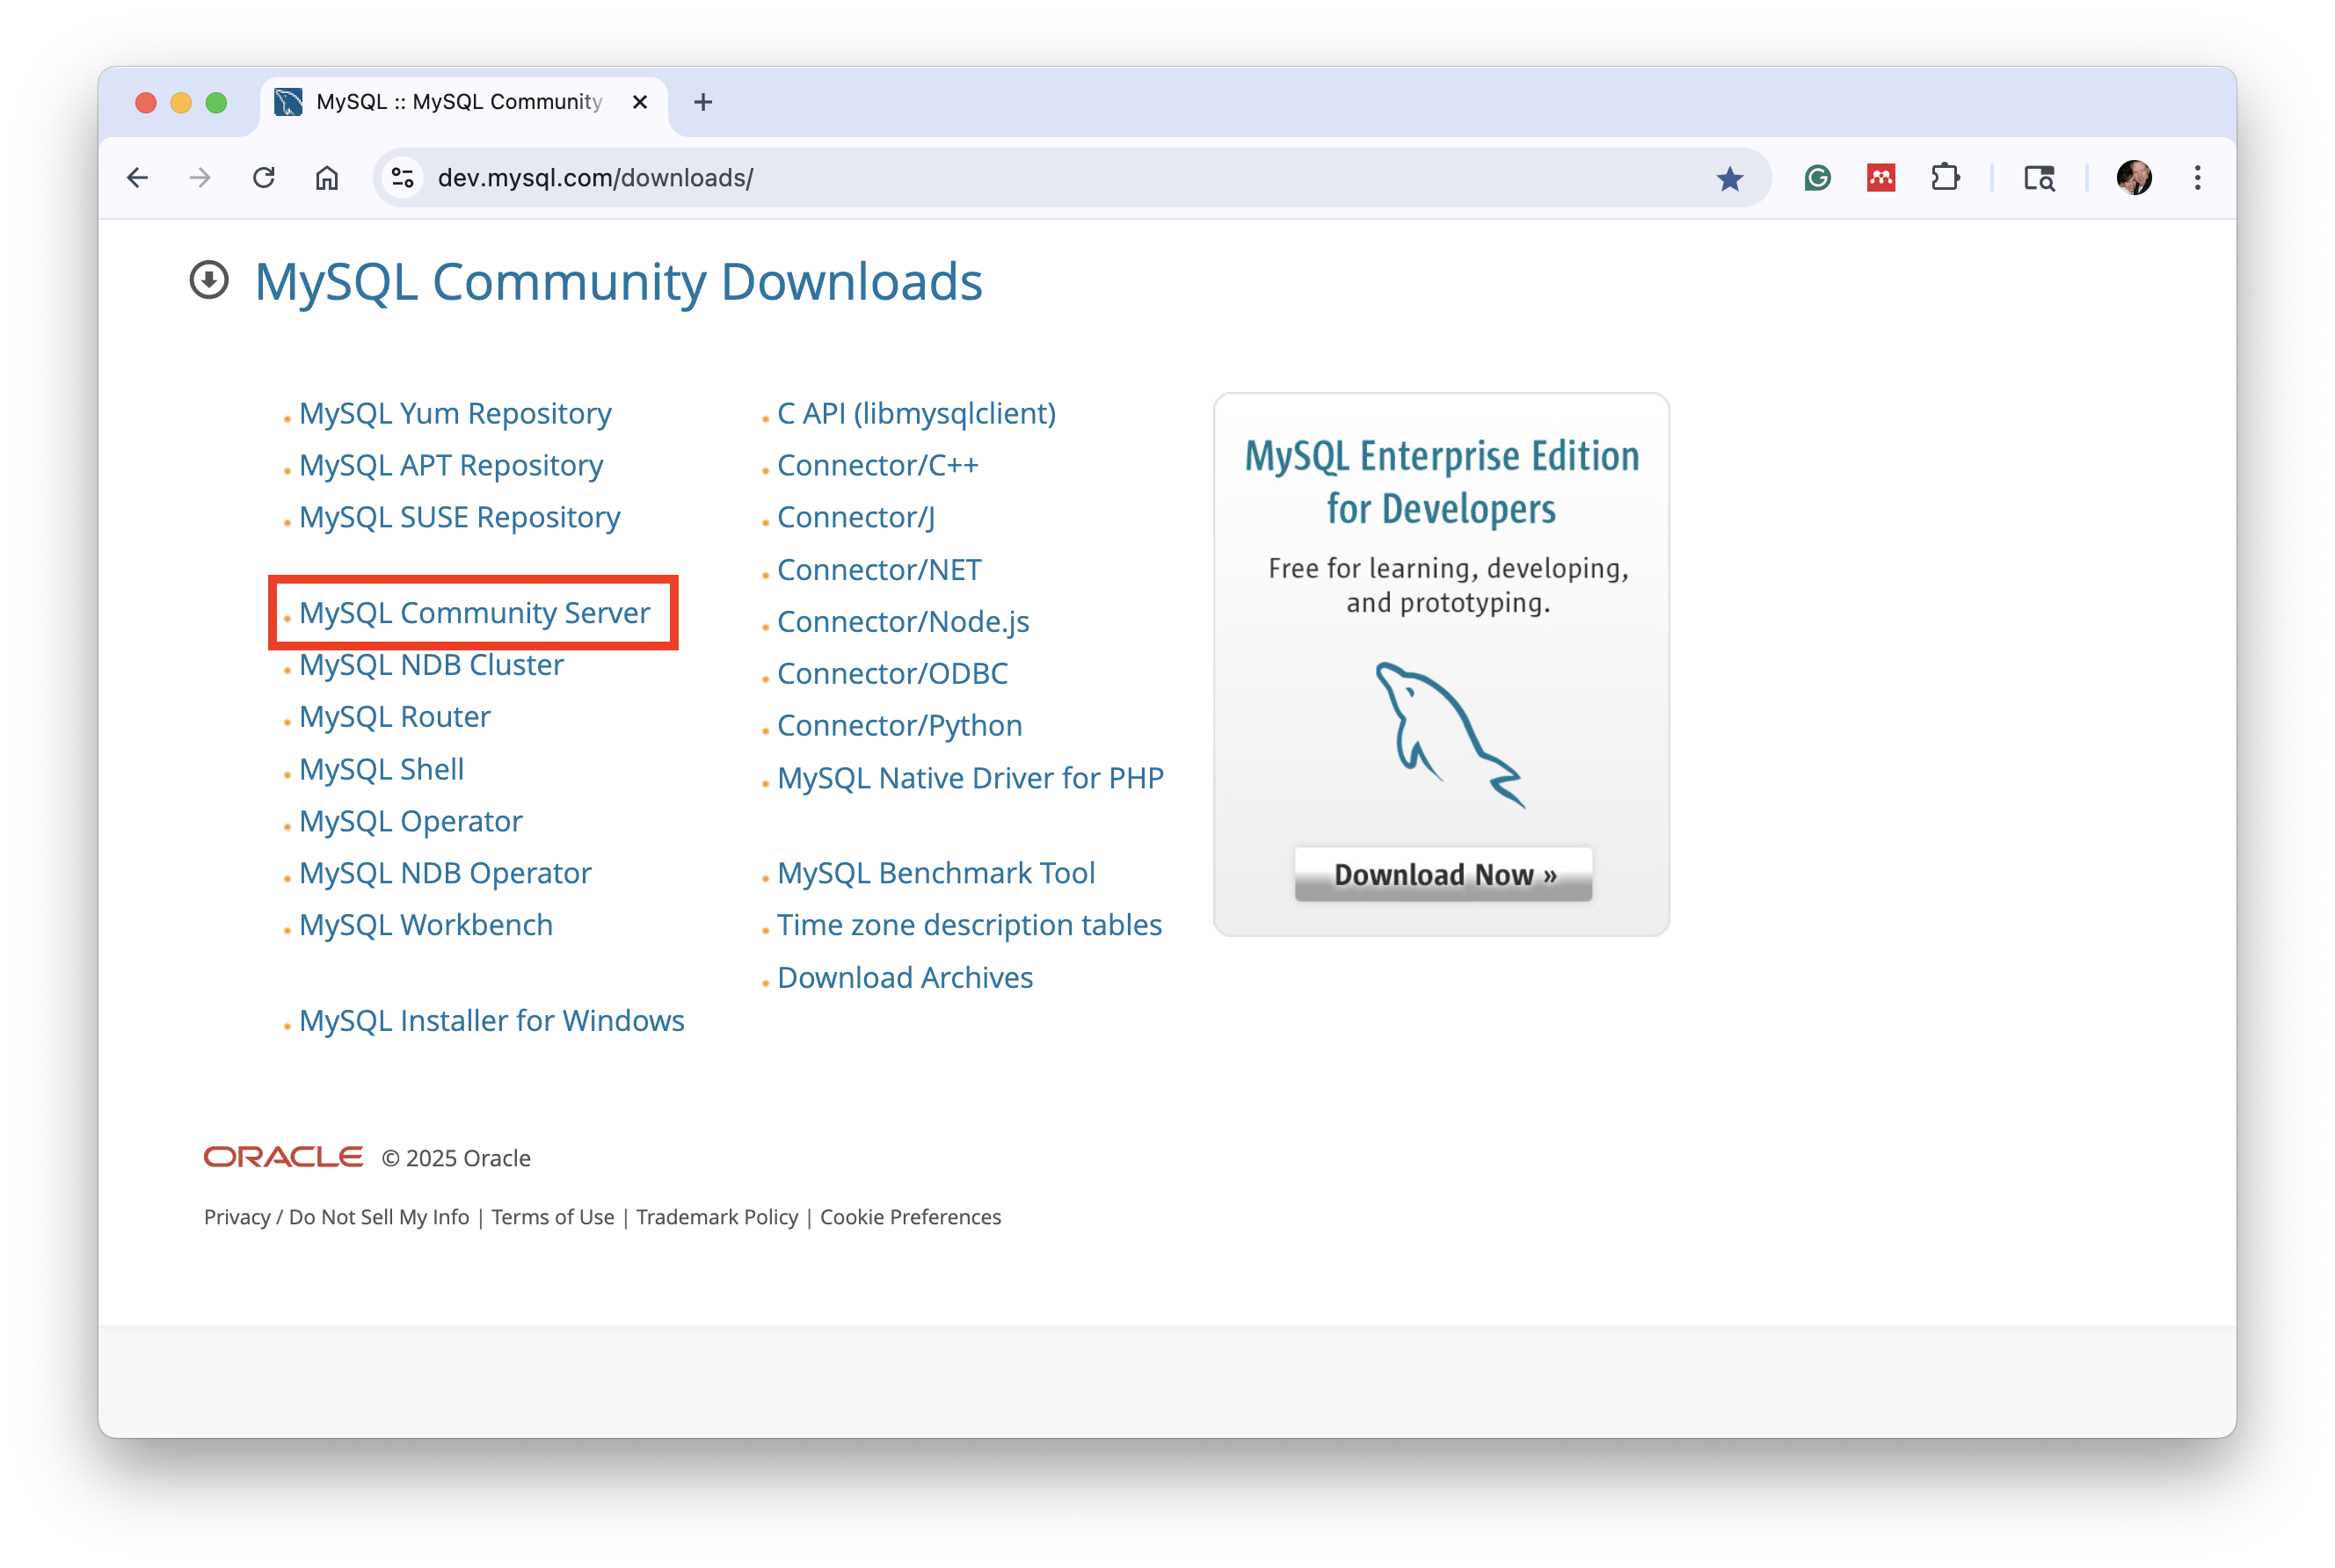
Click the link labeled MySQL Community Server. The following screen will appear:
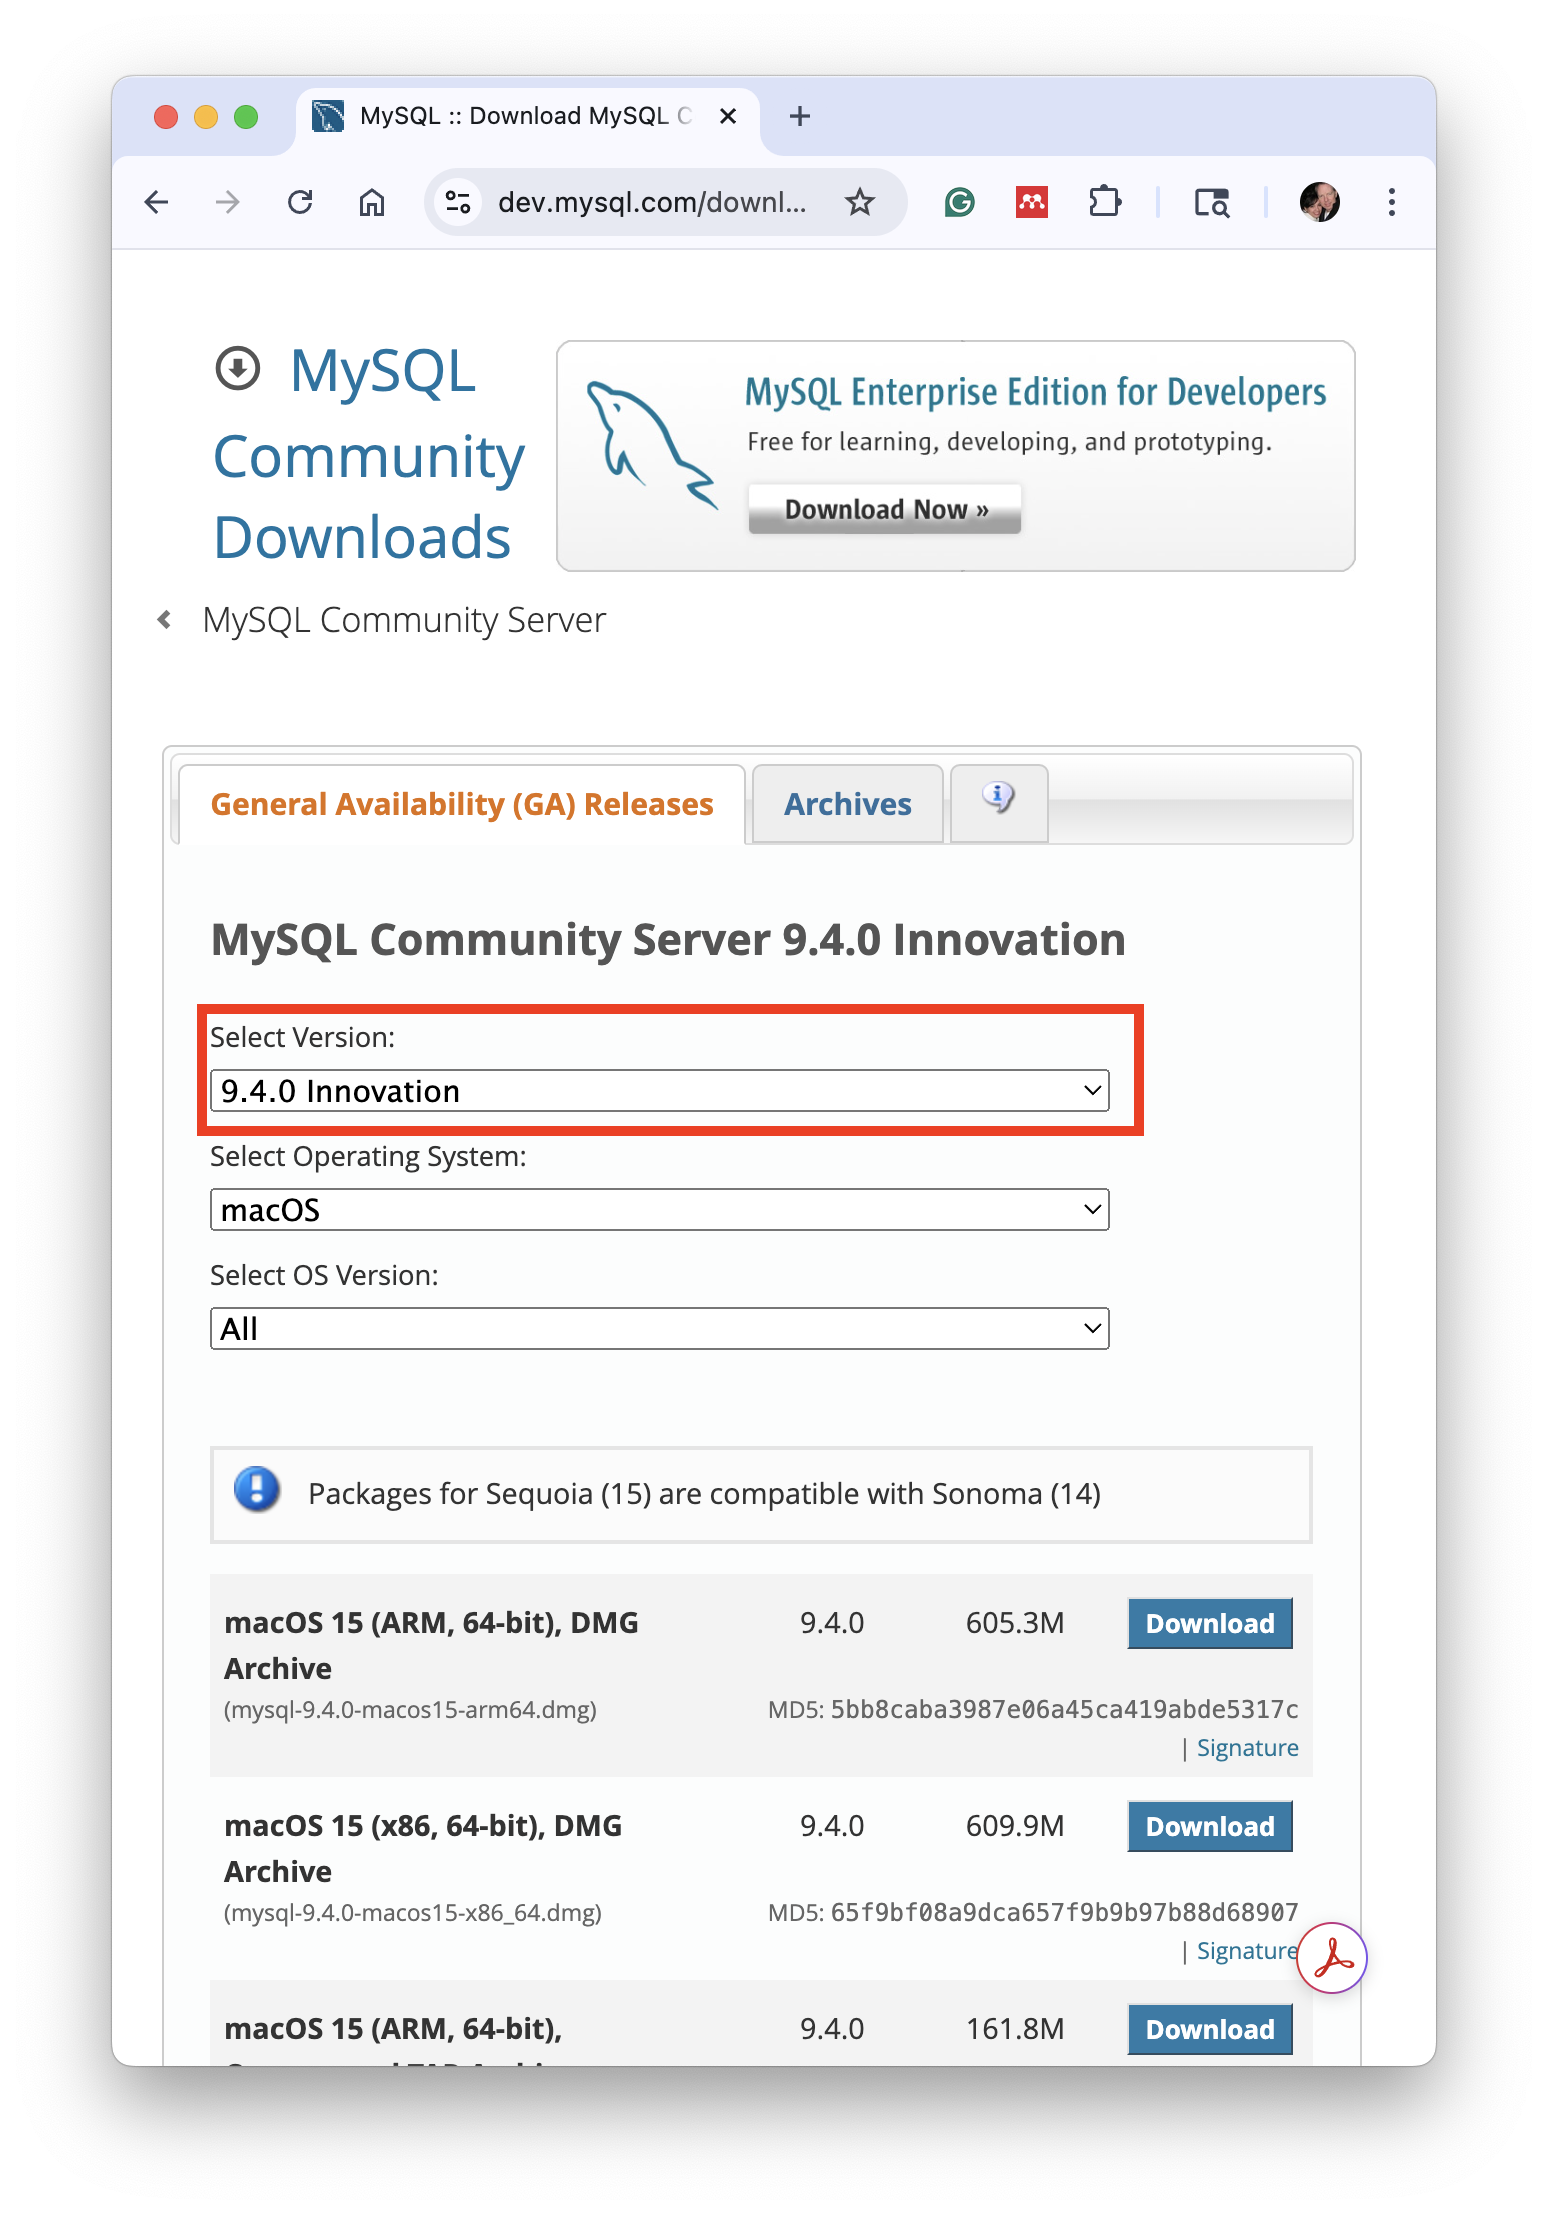
Click the down arrow next to the version number, as shown here:
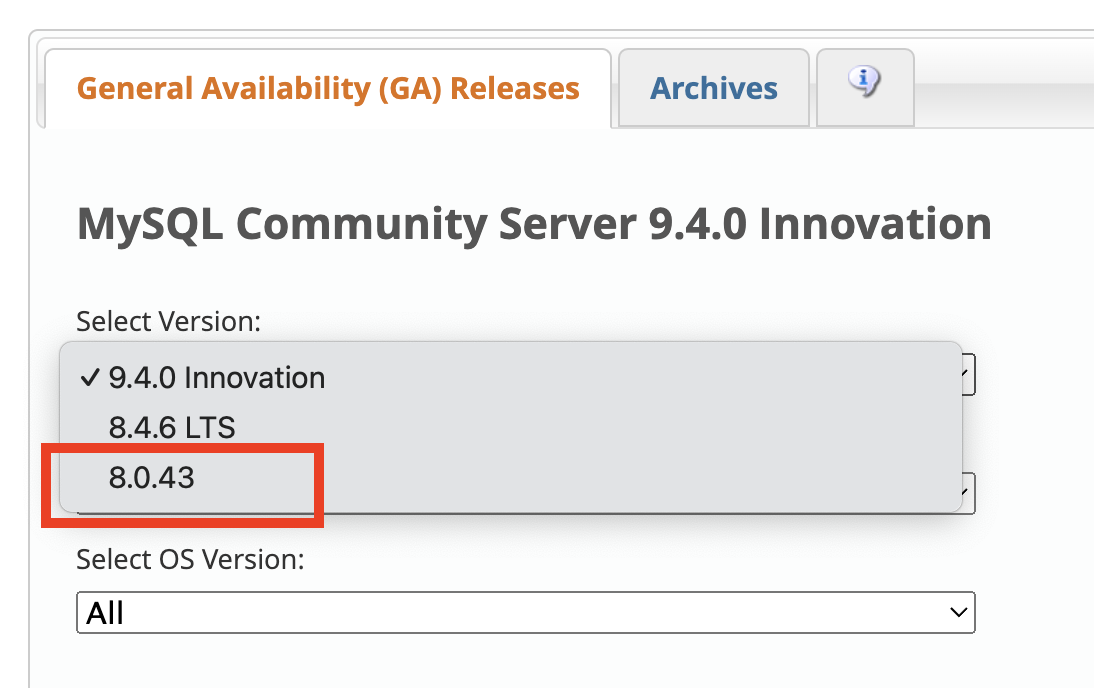
... and select 8.0.43. Then review the list of available packages available to download. These are specific to your computer's processor type and macOS version. Find the package that matches your computer's configuration. For example, if you have an Intel-based Mac, then you would select the package labeled (x86, 64-bit). If you have an Apple Silicon-based Mac (ARM), then you would select the package labeled (ARM, 64-bit).
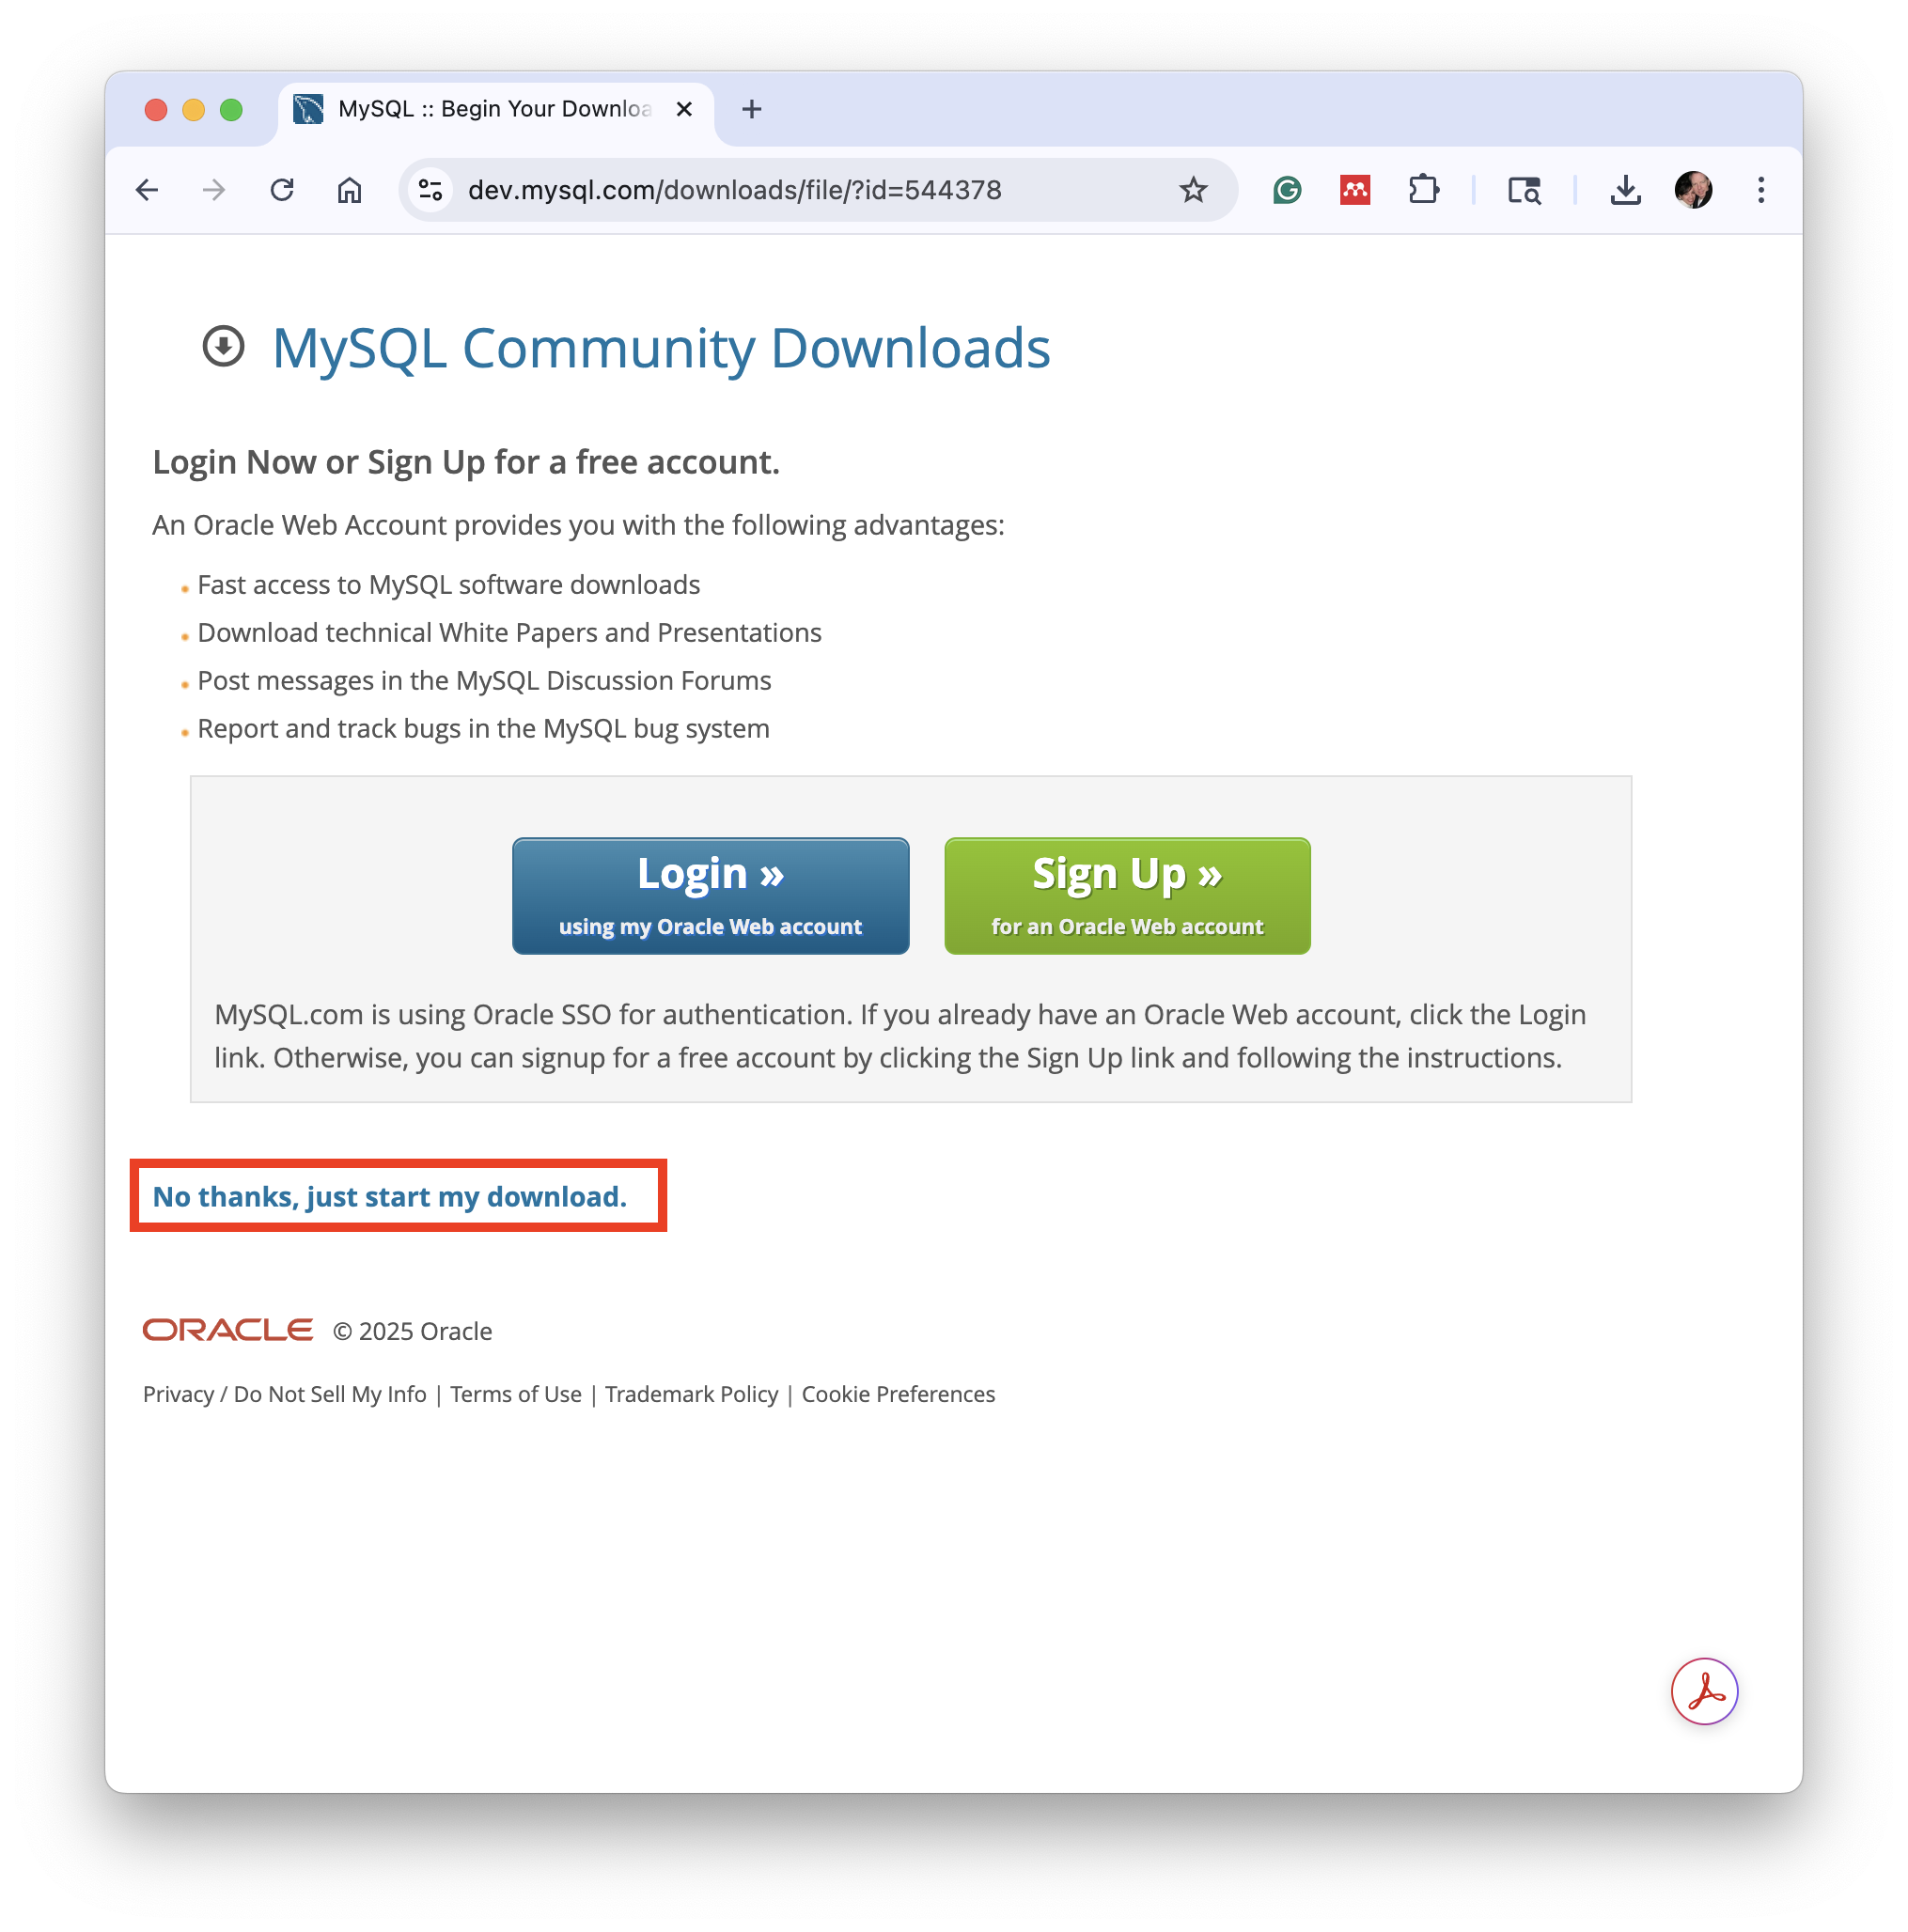
Click the Download button next to the appropriate package. The following screen will appear:

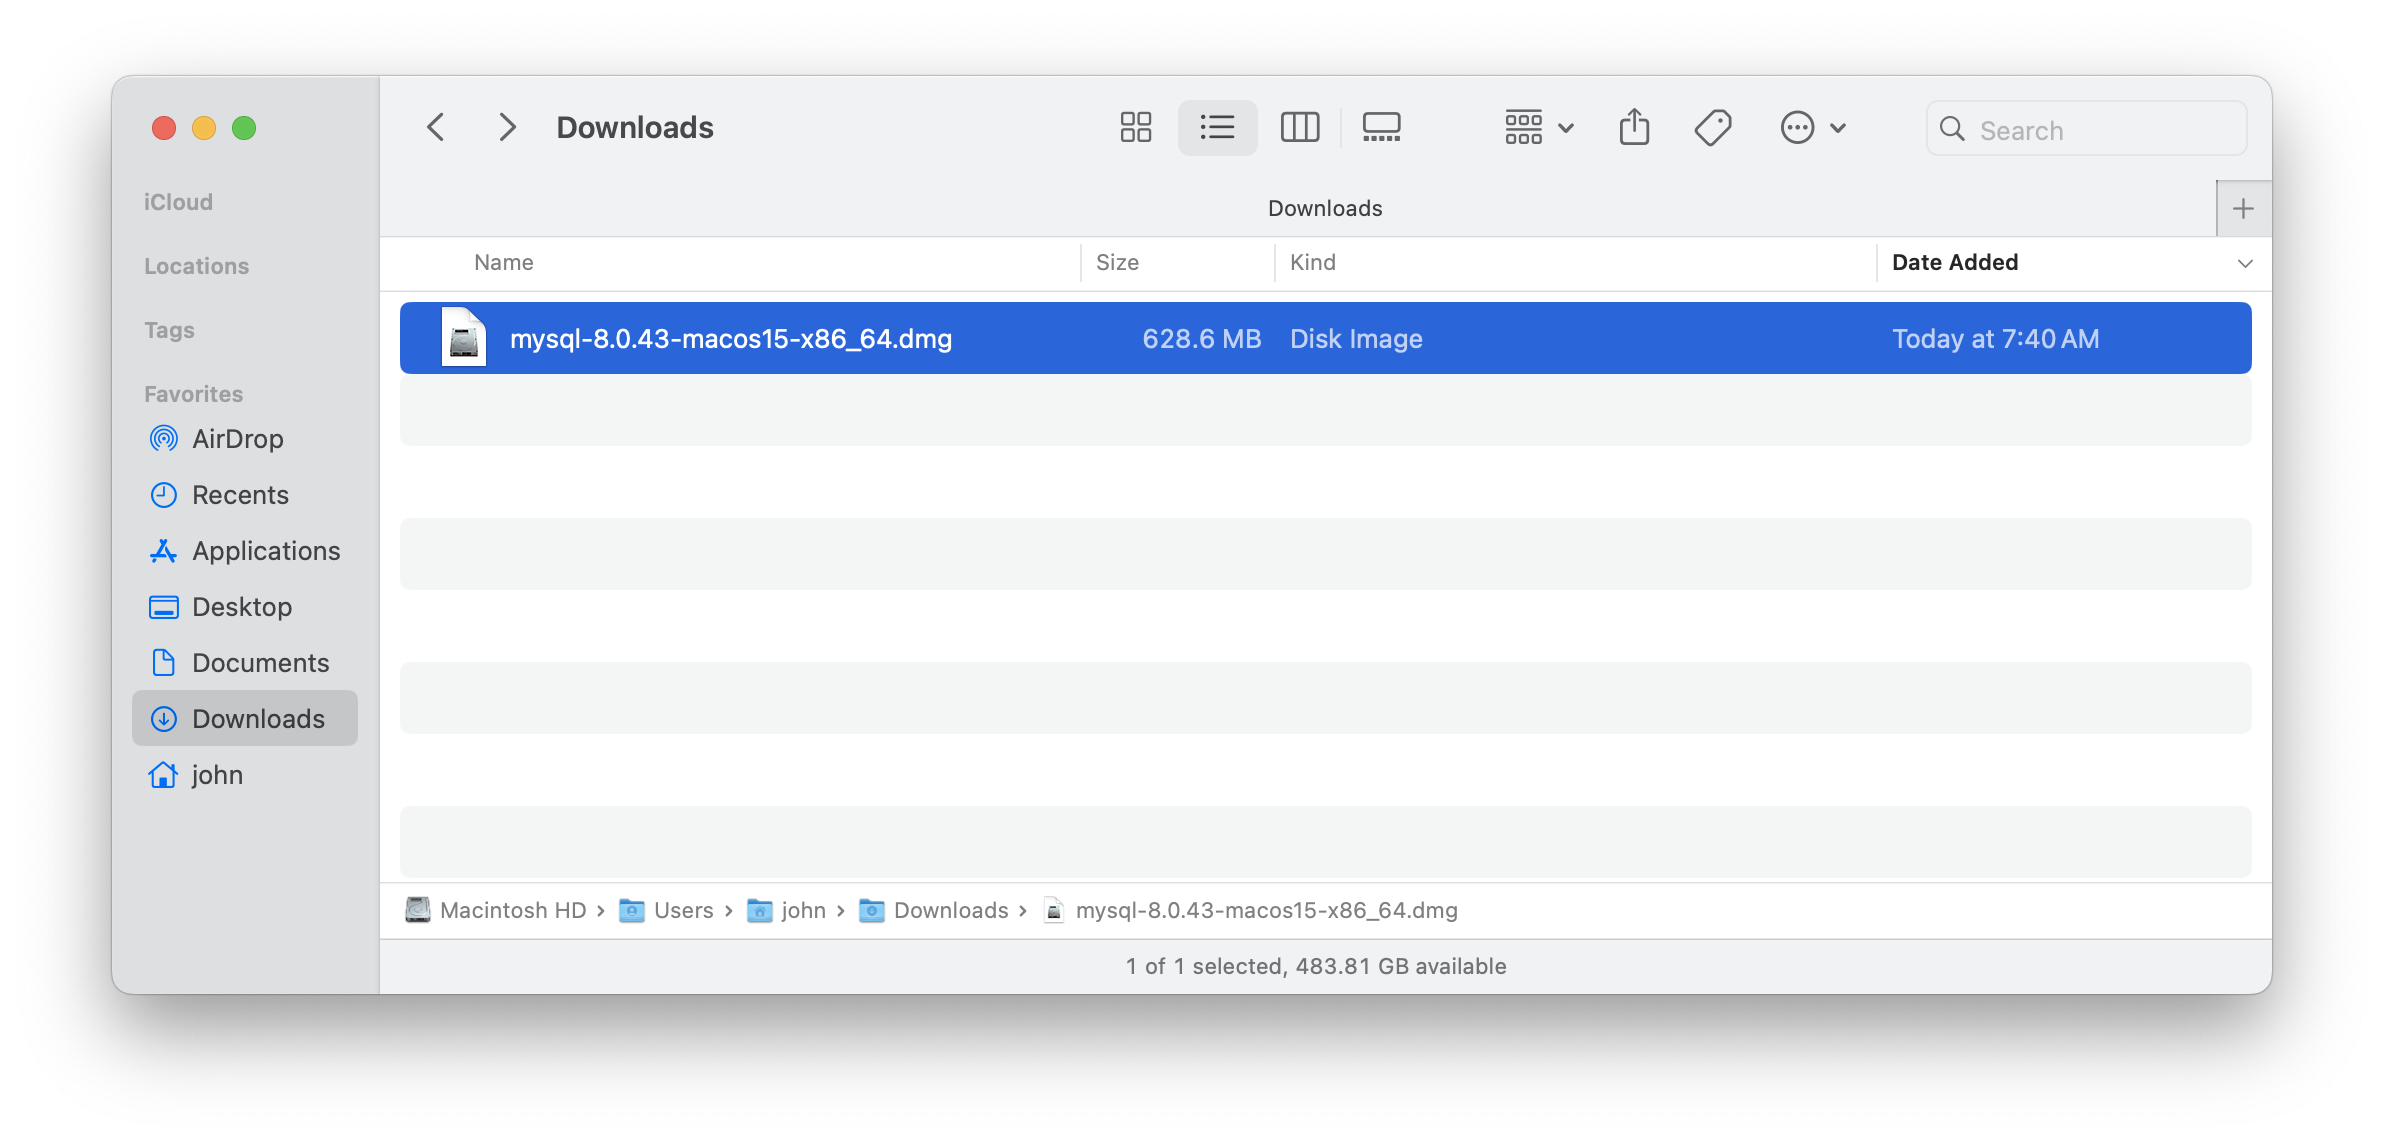
You are not required to create an account in order to download MySQL Installer. Just click the No thanks, just start my download link to proceed without signing in. The installer file will download and appear in your Downloads folder when the download finishes like this:
Part 2: Install MySQL Community Server
Double-click this mysql...dmg file in your Downloads folder to mount the disk image. The following screen will appear:
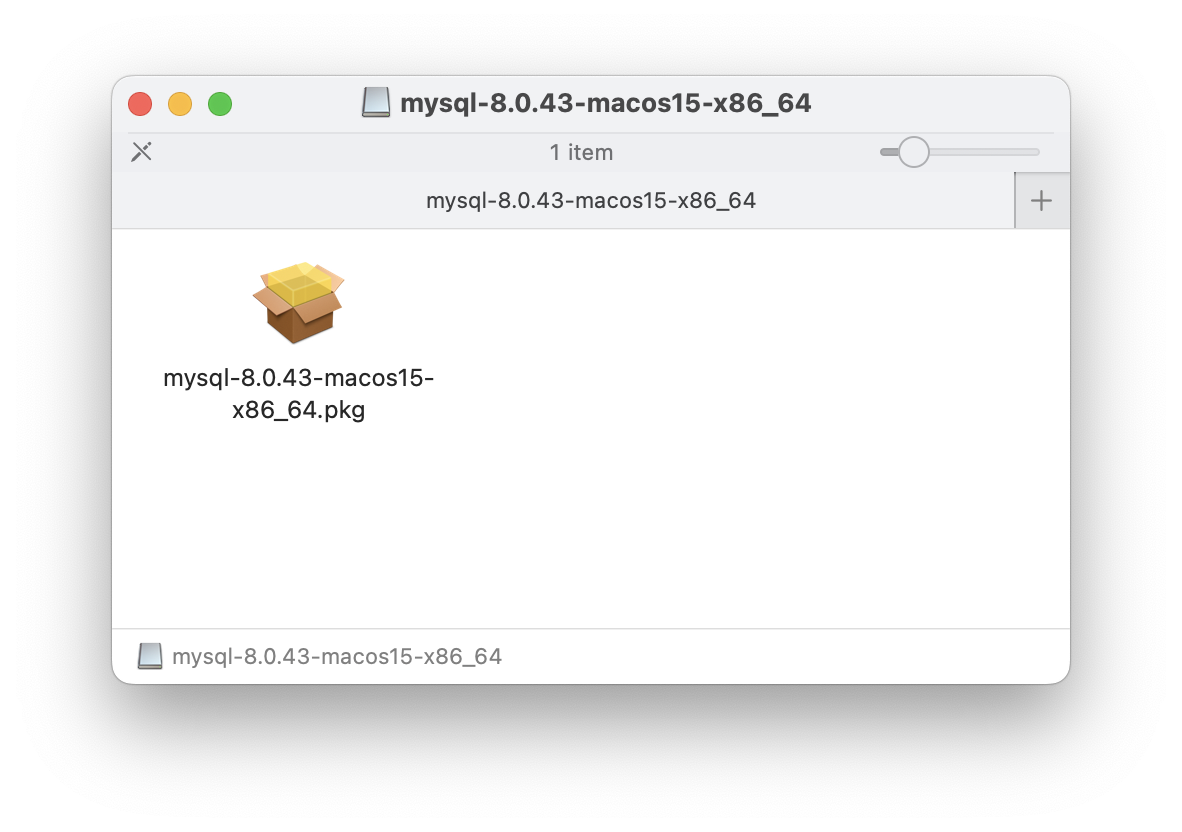
Next, double-click the mysql-8.0.43-macos11-x86_64.pkg (or mysql-8.0.43-macos11-arm64.pkg if you have an Apple Silicon-based Mac) file to launch the MySQL Installer. The following screen will appear:

Click the Allow button to proceed. The MySQL Installer will launch and the following screen will appear:
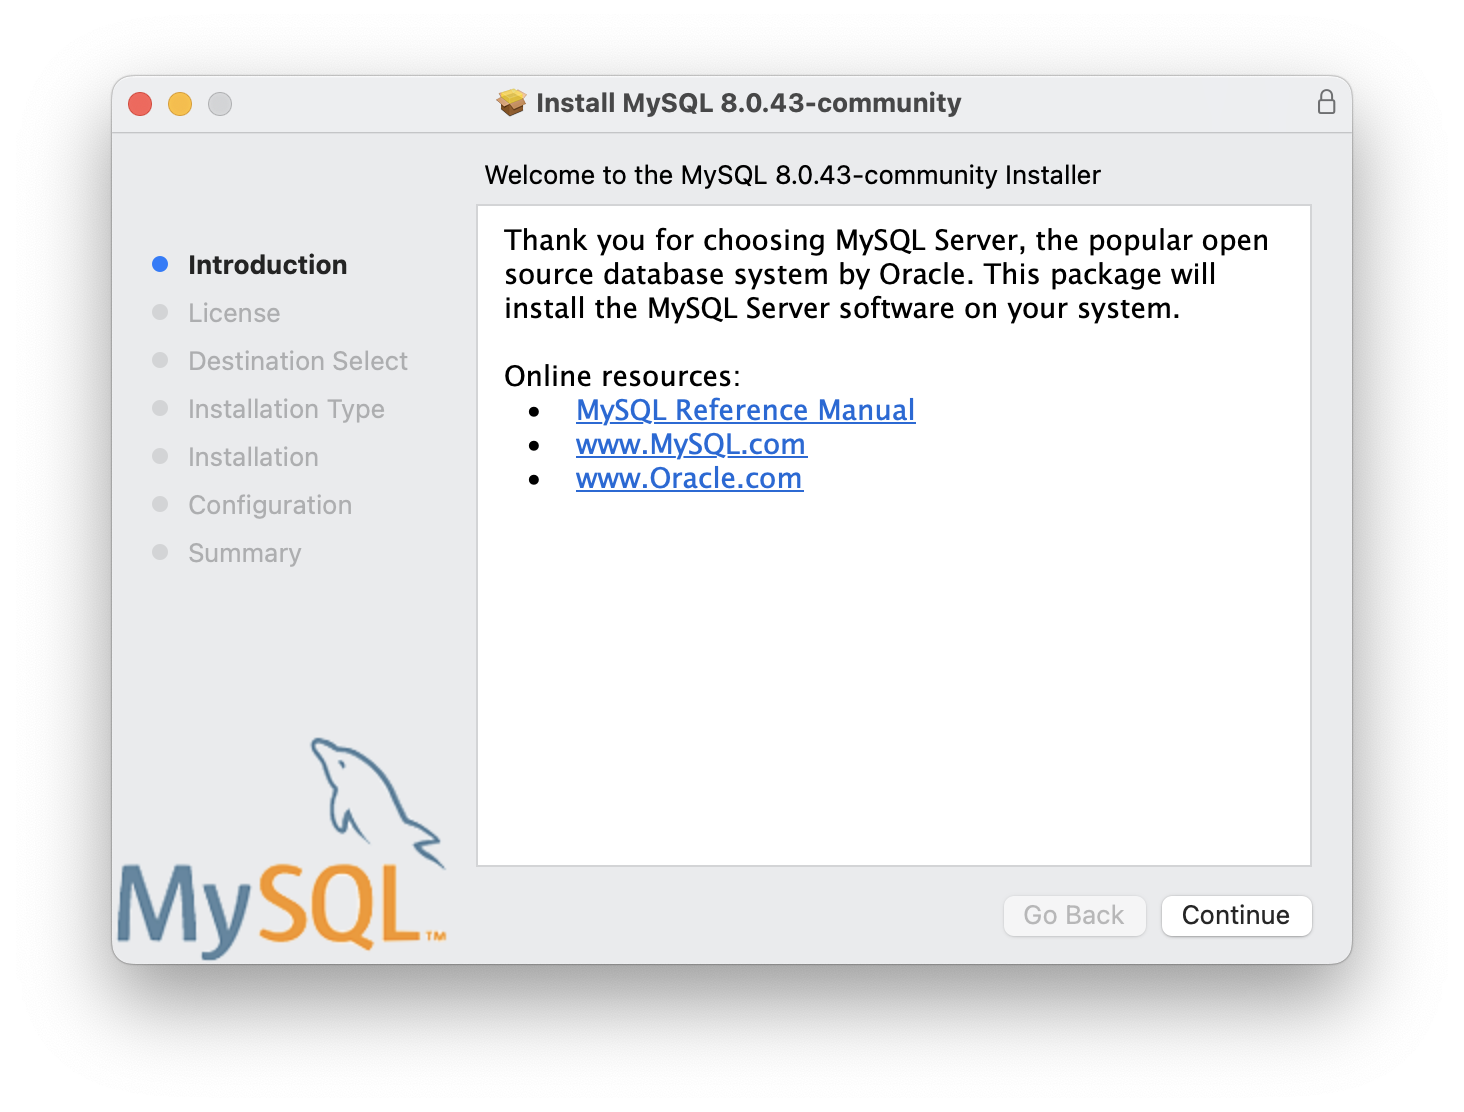
Click Continue.
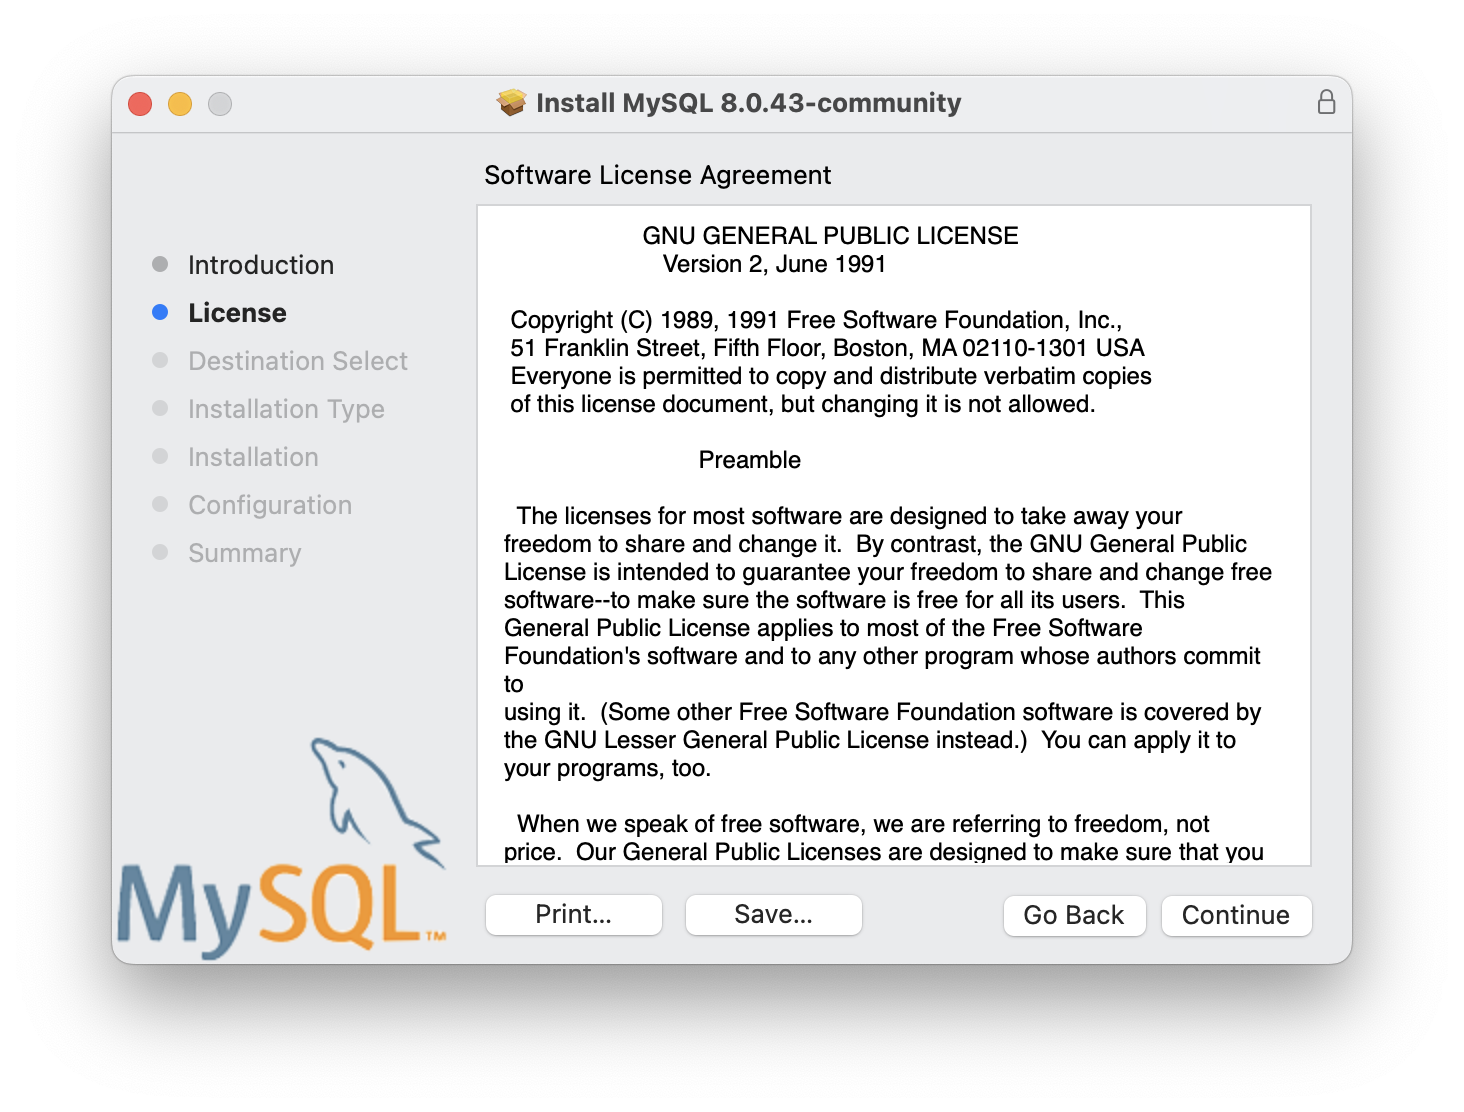
Click Continue.
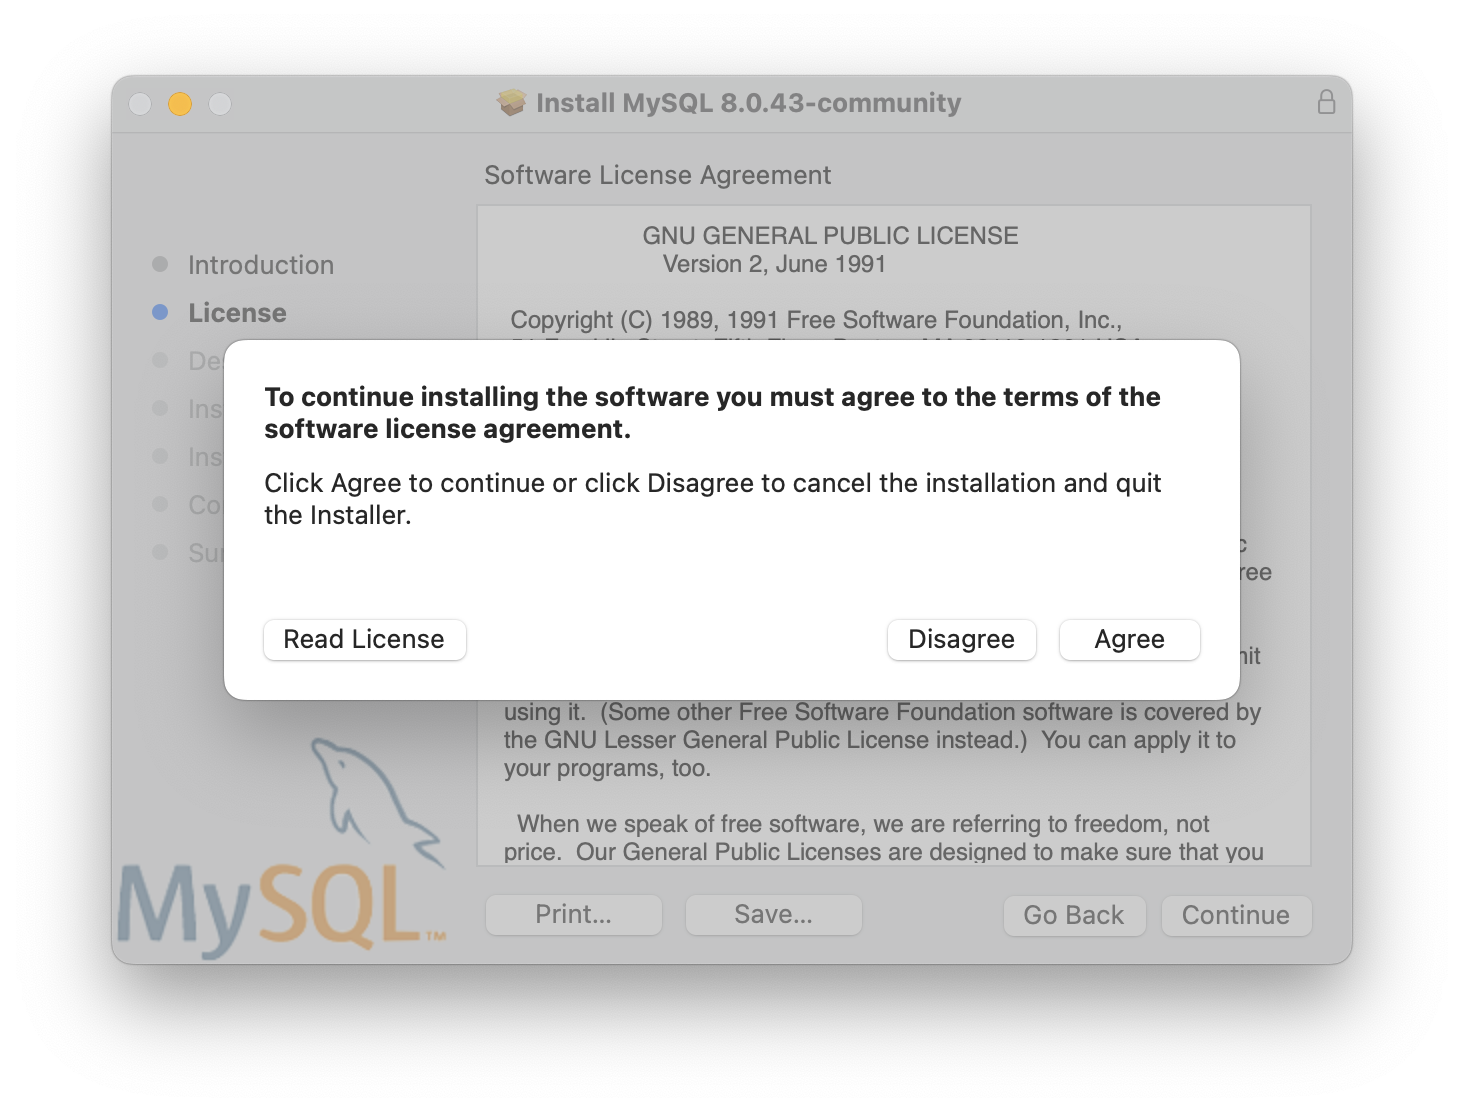
Click Agree.
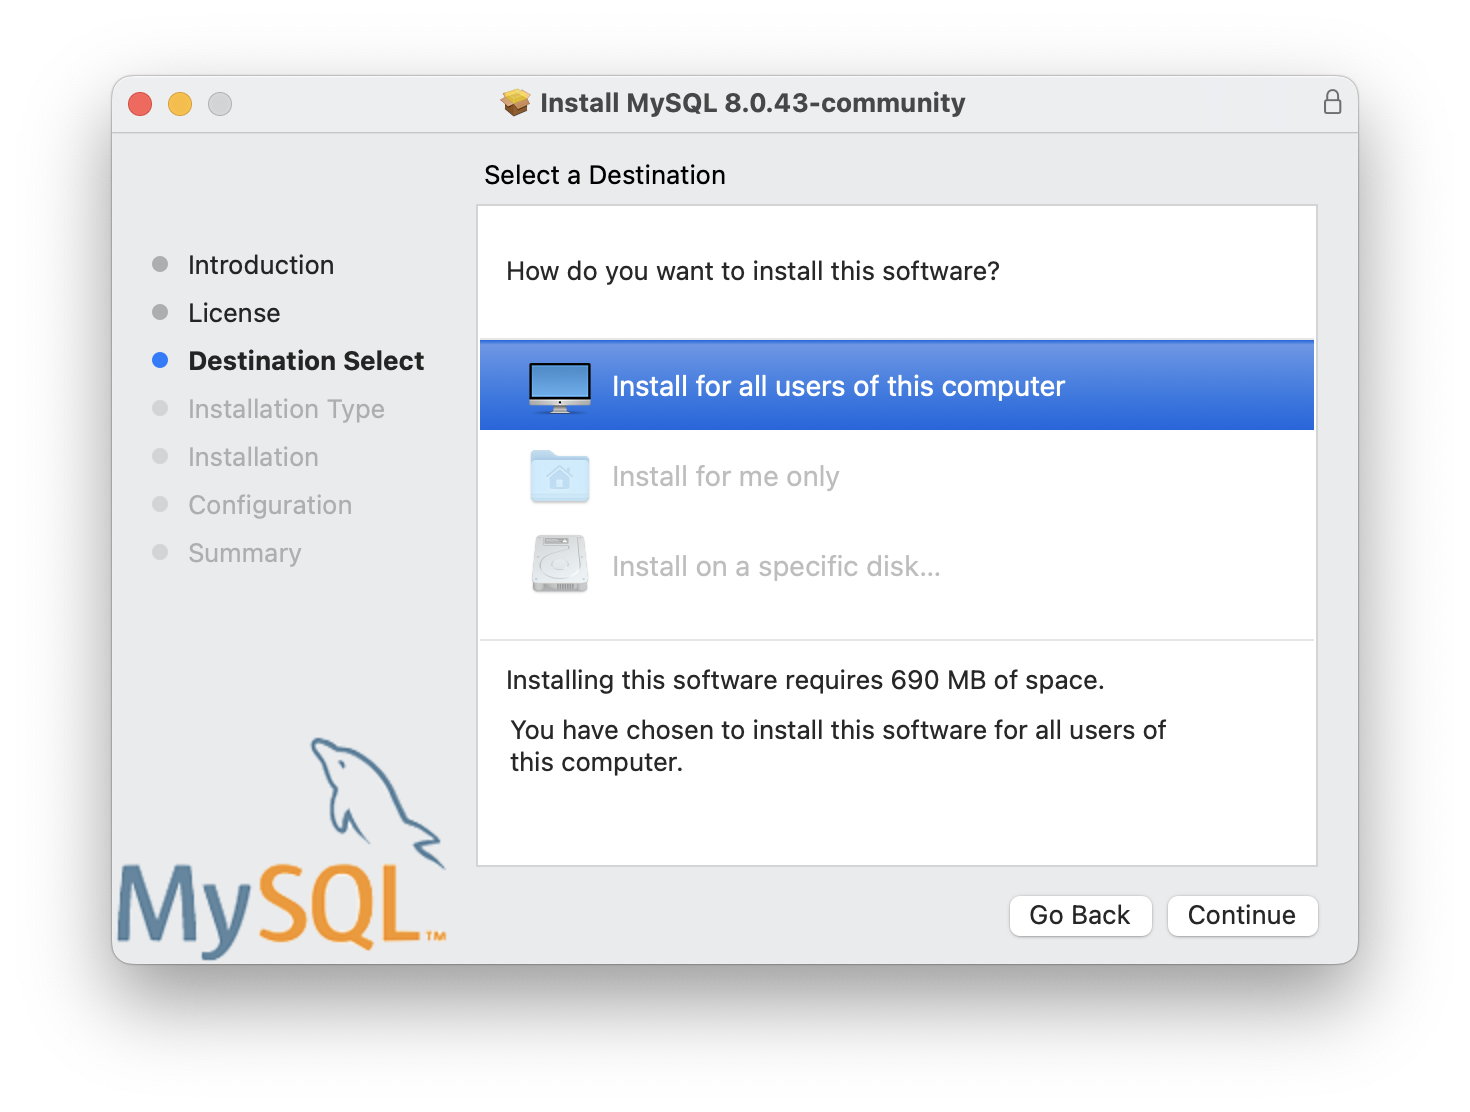
Leave the choice on Install for all users of this computer and click Continue.
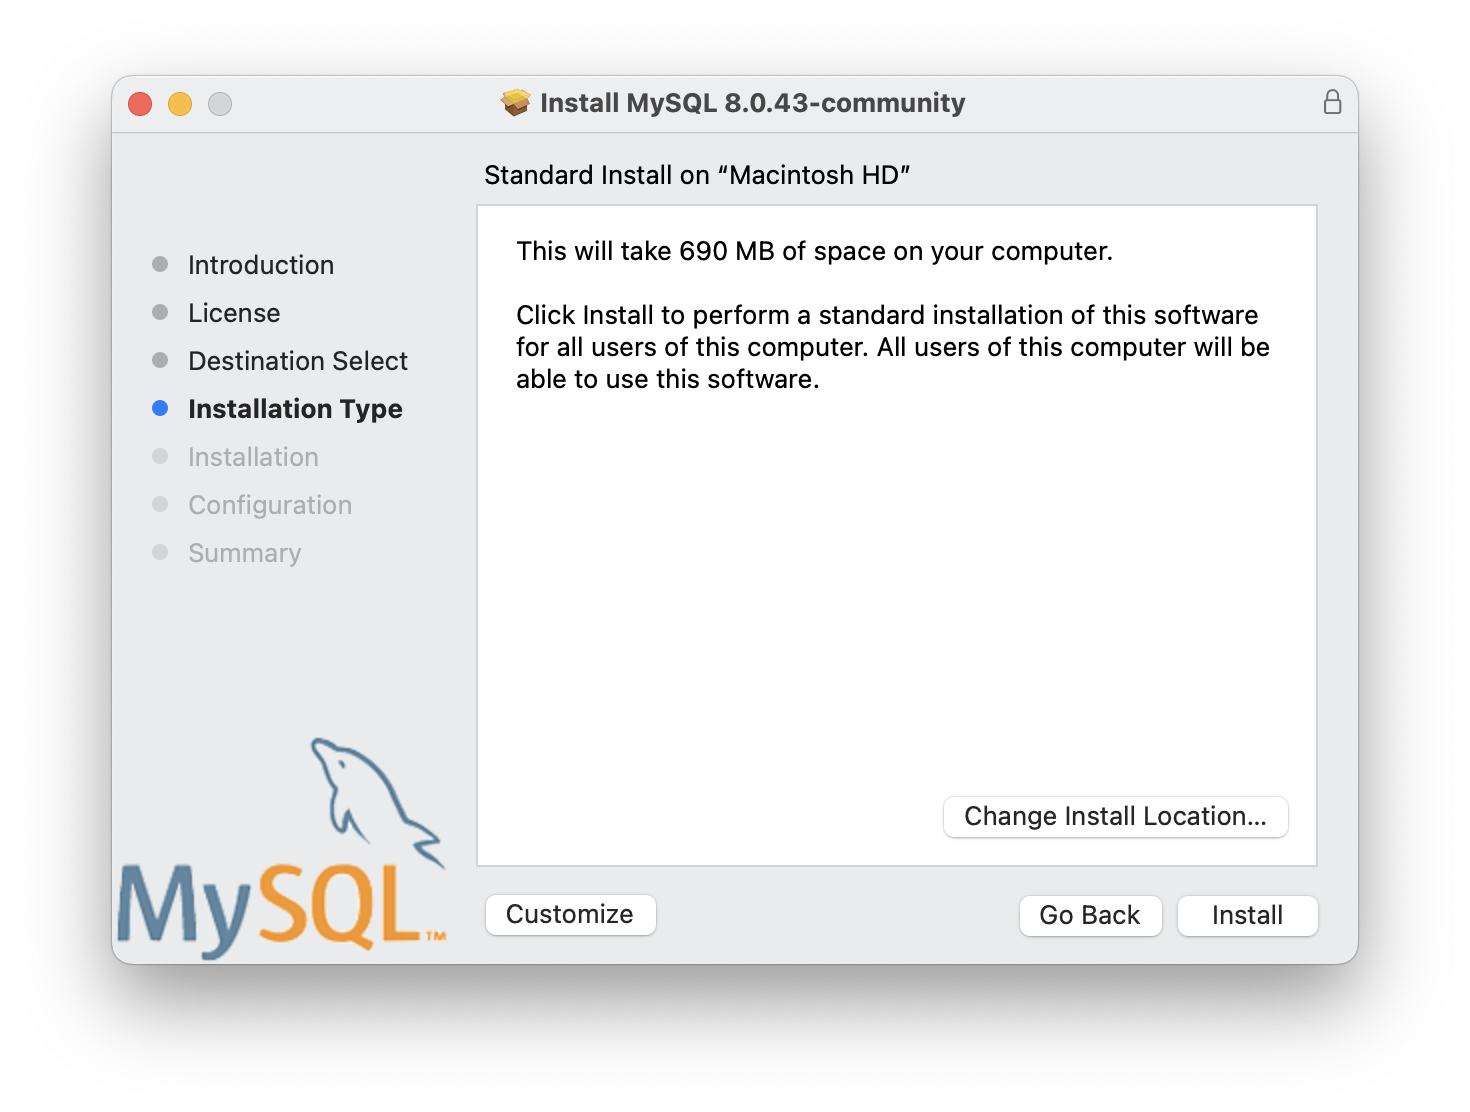
Click Install.
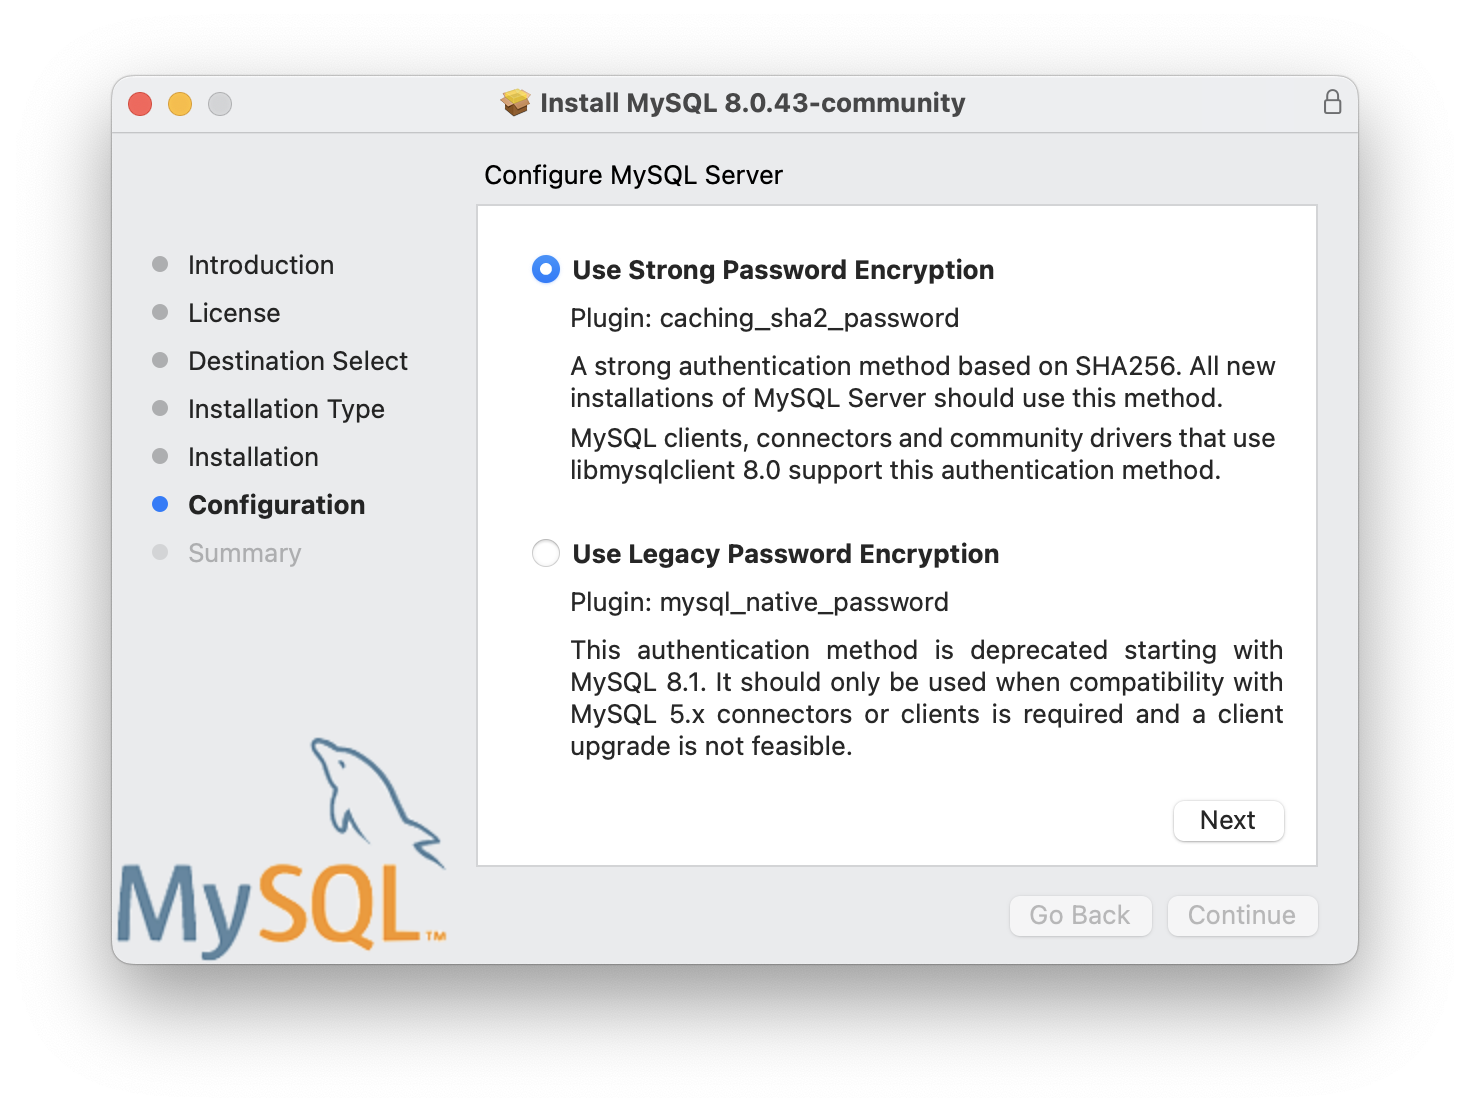
You will also see a prompt to select type of password protection for your MySQL installation. Leave it on the default, Use Strong Password Encryption and click Next.

Then click Finish.
When the installation is complete, you will see a screen like this:

Click Close to exit the installer.
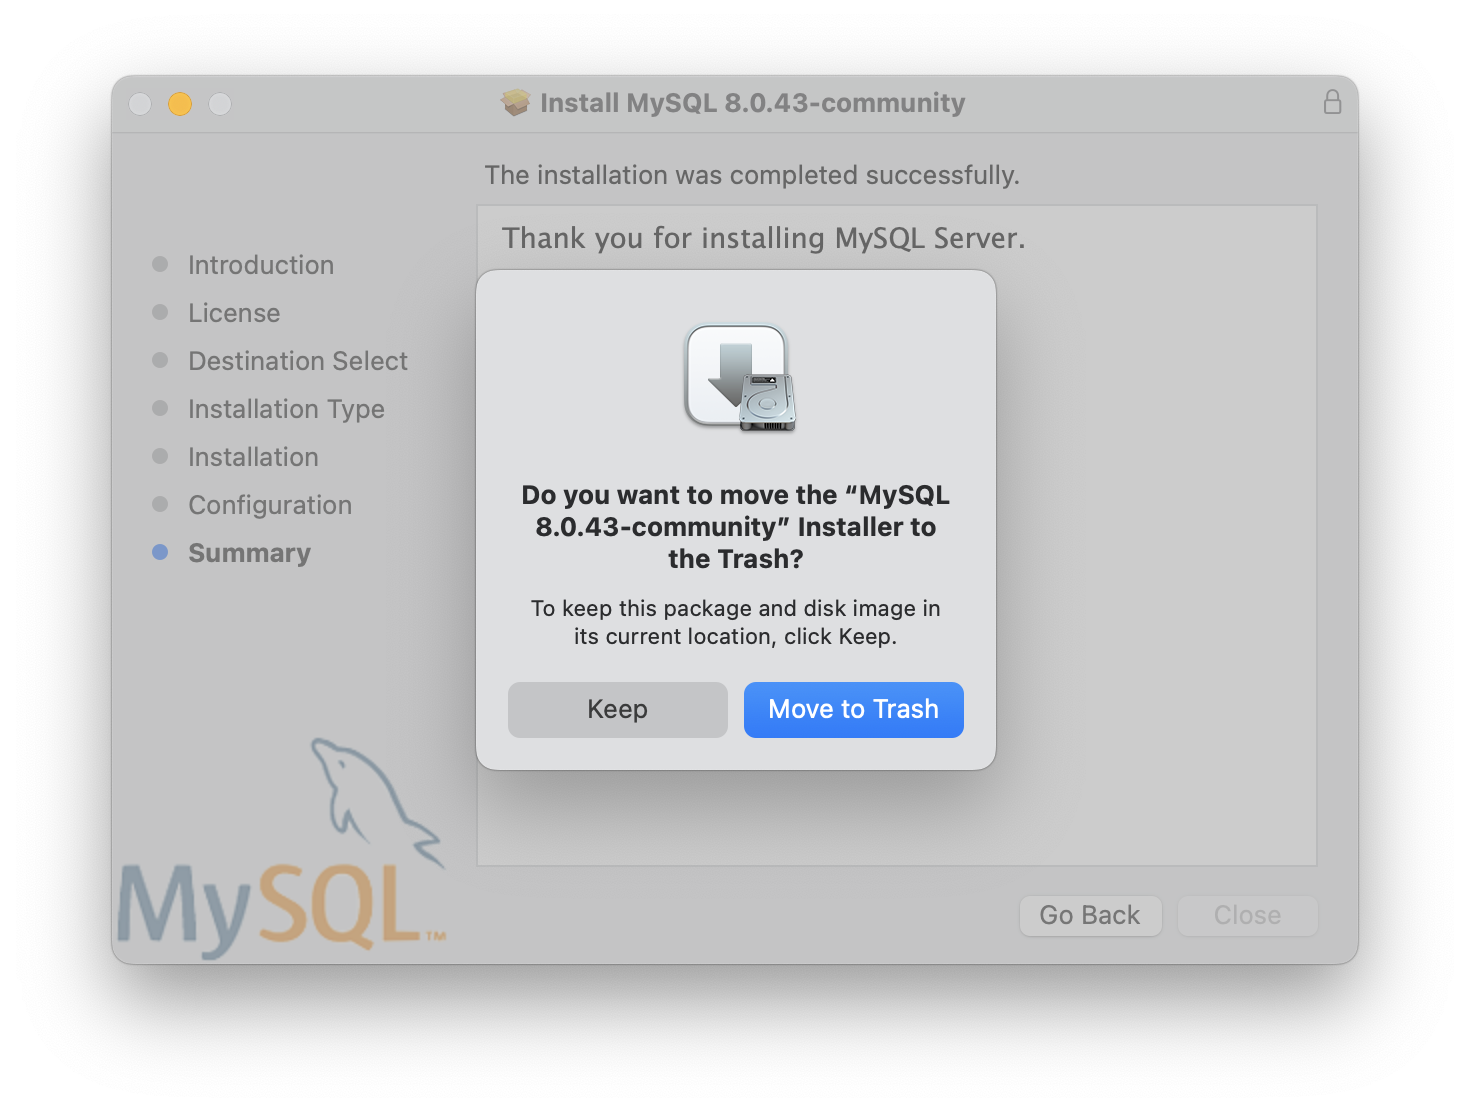
Click Move to Trash to unmount the disk image and remove the installer files.
Part 3: Restart your computerr
Restart your computerr to ensure that all changes take effect properly.
Part 4: Download MySQL Workbench
Next, we need to download MySQL Workbench. Go back to your browser and go back to the MySQL Downloads page. Click the MySQL Workbench link:

Recall the specifications of your computer and choose the appropriate version of MySQL Workbench to download (either the x86 or ARM version).
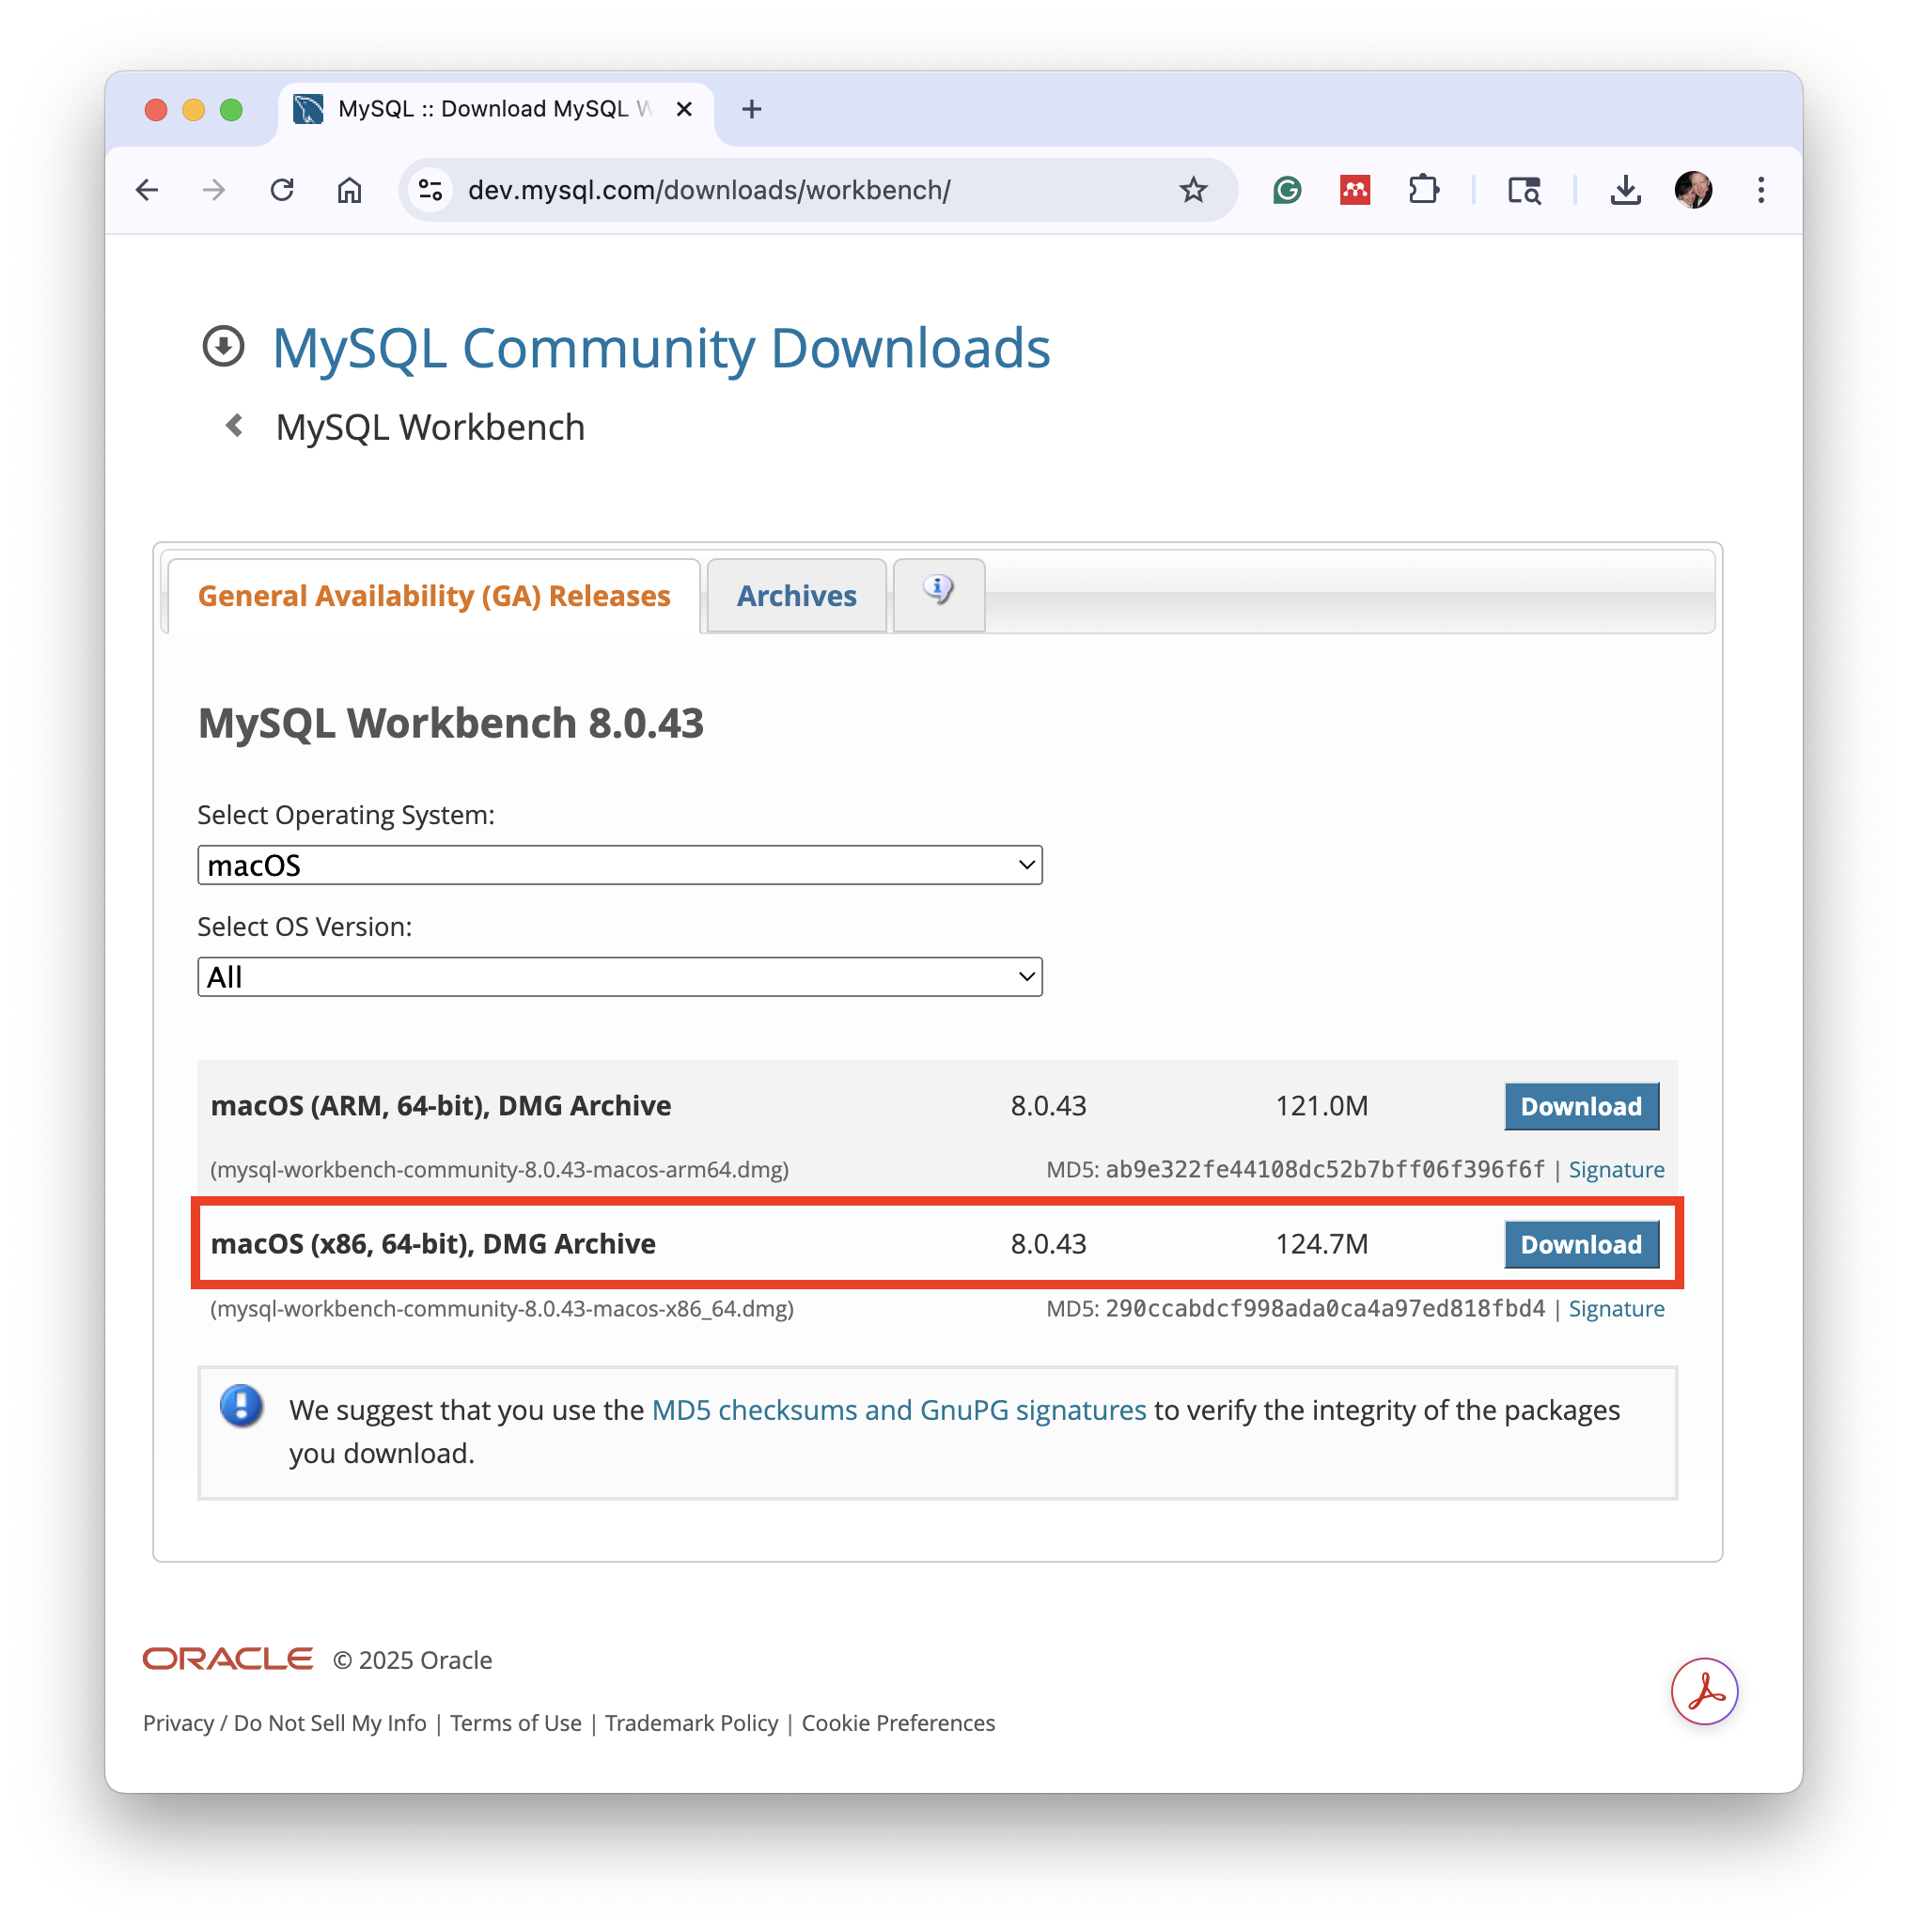
In this example, I chose the x86 version. Click the Download button next to the appropriate package. The following screen will appear:
You are not required to create an account in order to download MySQL Installer. Just click the No thanks, just start my download link to proceed without signing in. The installer file will download and appear in your Downloads folder when the download finishes like this:

Part 5: Install MySQL Workbench
Next, double-click the downloaded file to launch the MySQL Workbench Installer. The following screen will appear:

Click and drag the MySQL Workbench icon to the Applications folder icon.

The application will be copied to your Applications folder. When the copy is complete, you can close this window and eject the MySQL Workbench disk image from your desktop.
Part 6: Confirm Your MySQL Installation
Next, we'll confirm that MySQL Workbench is properly installed and can connect to the MySQL server. Launch MySQL Workbench from your Applications folder or use Spotlight to search for it.

The Workbench tool will open and you will see a screen similar to this:

Double-click the Local instance MySQL80 box below the MySQL Connections label to open the local instance of your MySQL Server.
Once open, navigate to the Administration tab and click on Server Status to view the status of your MySQL server. You should see a screen similar to this:
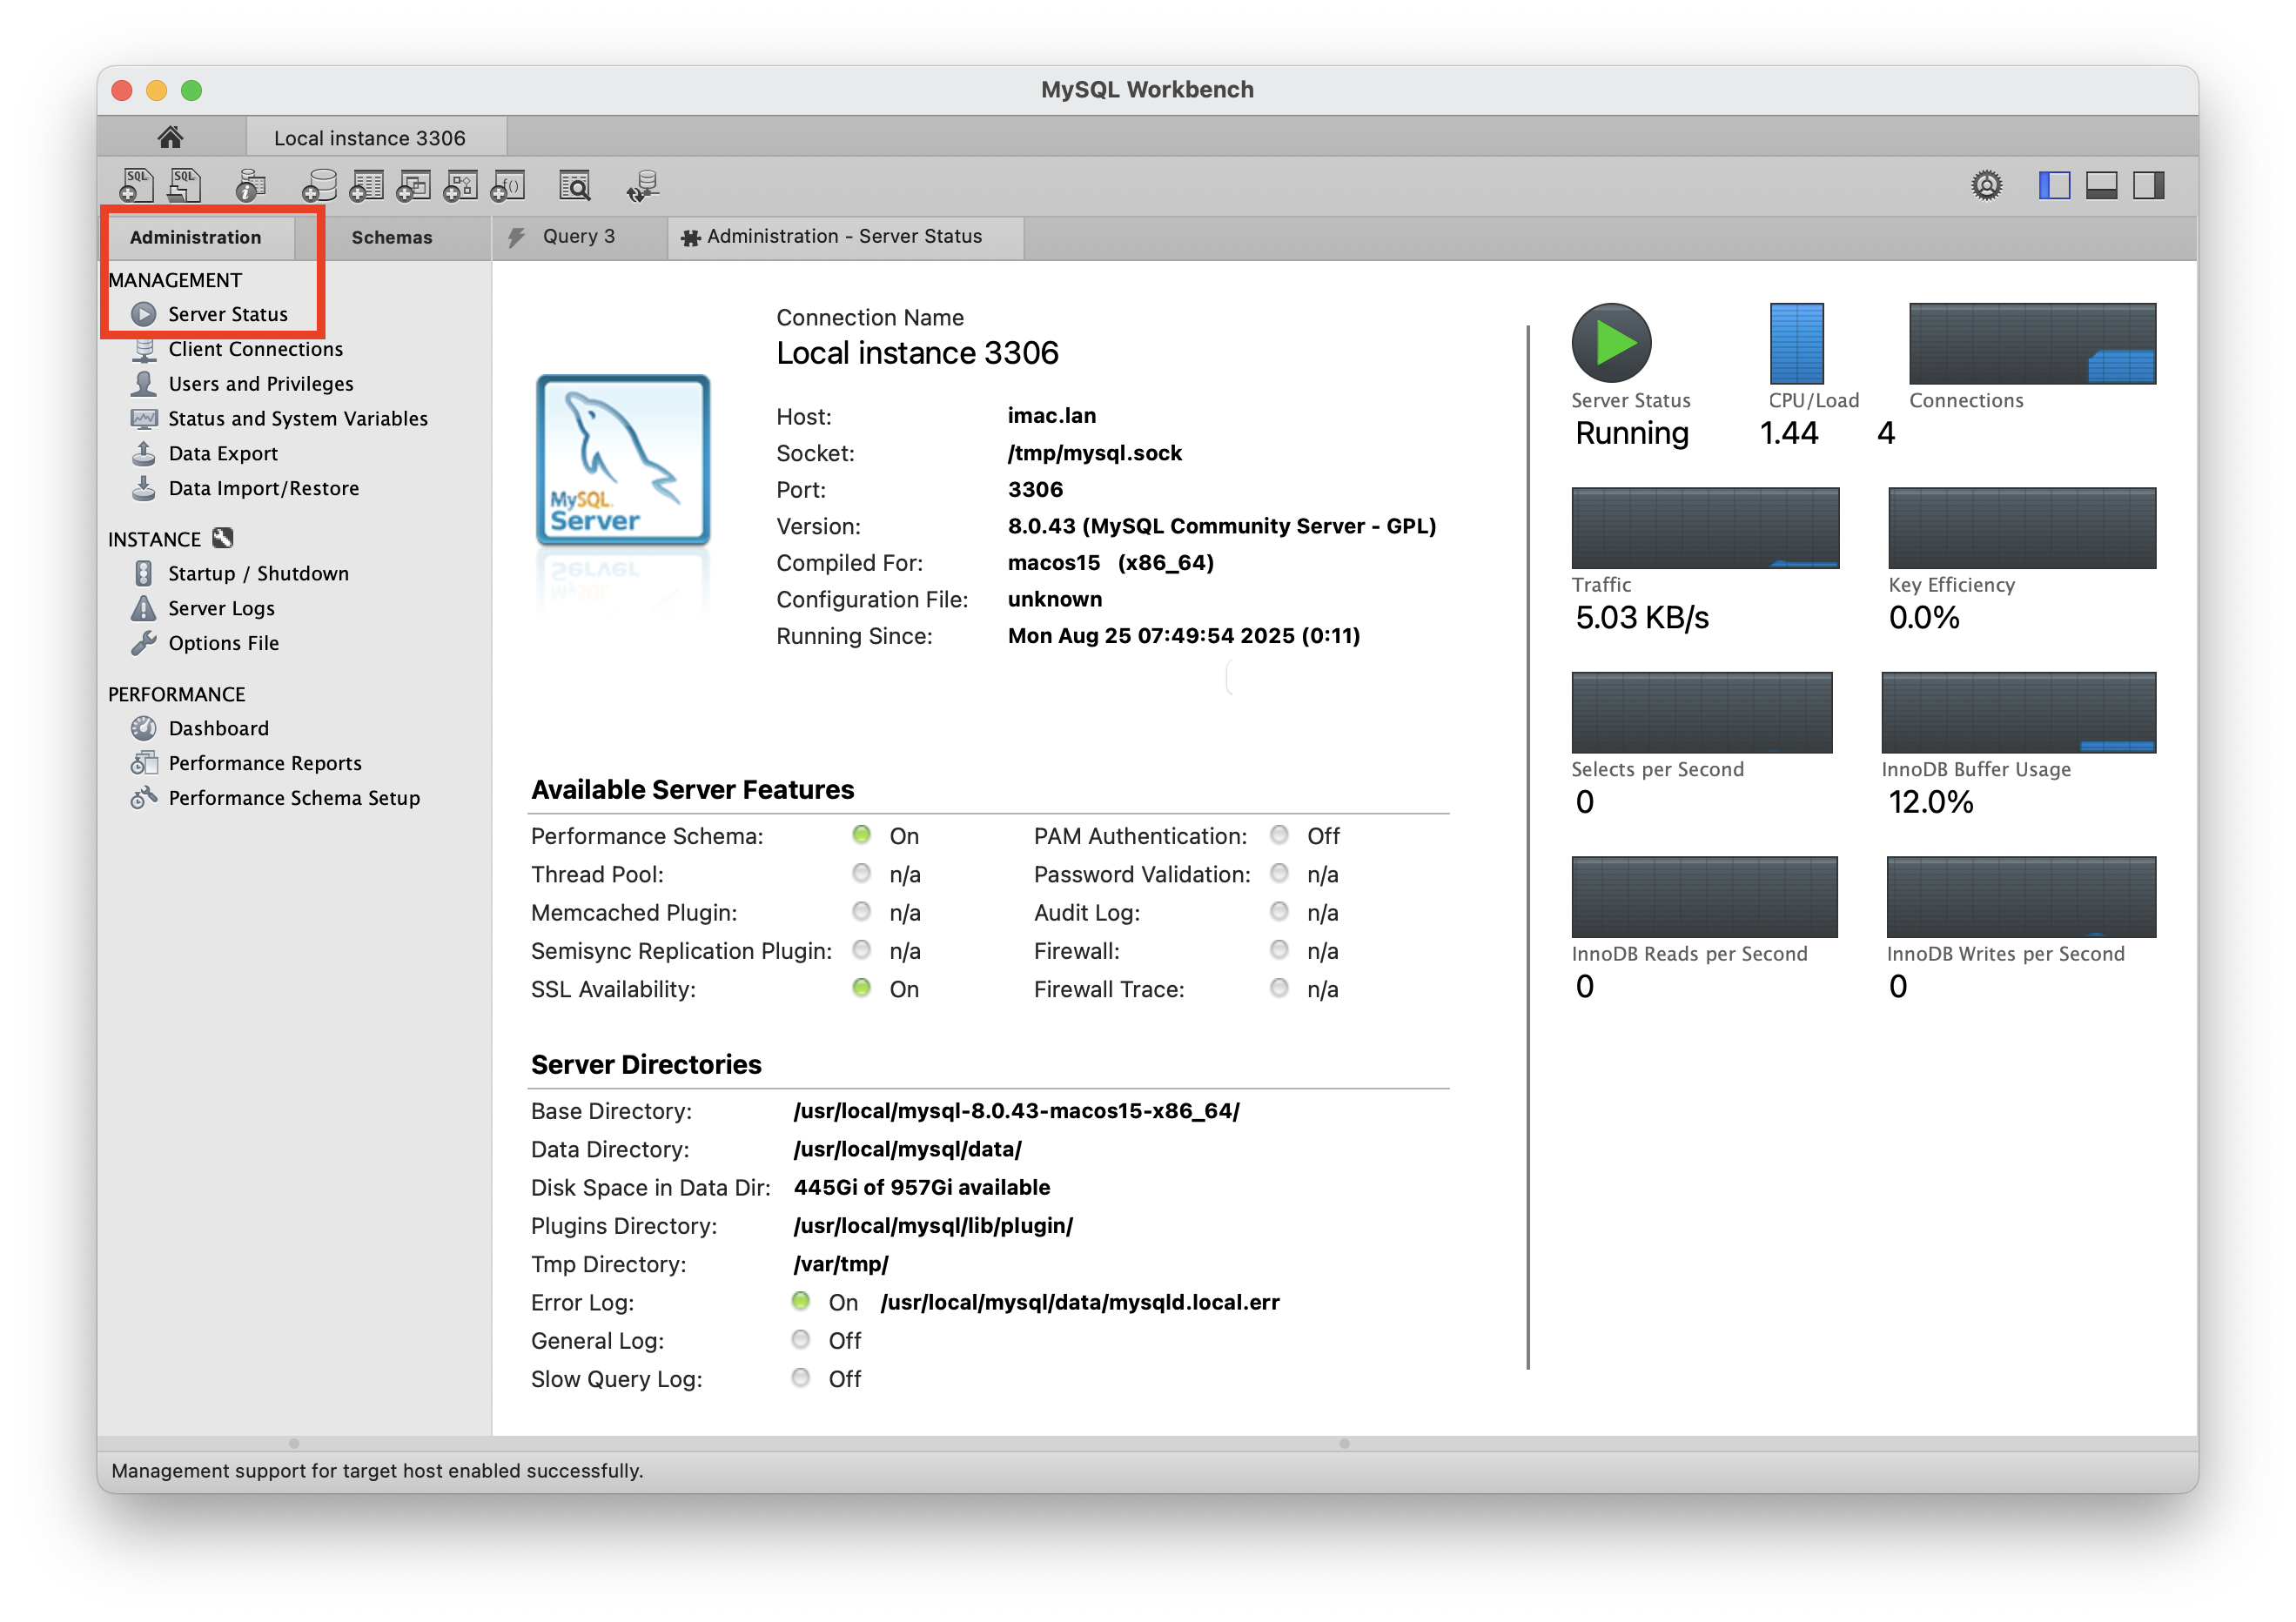
If you see your server status that means MySQL Server is running properly.
 University of Utah